
Last updated September 20, 2026
Full 25-point door and opener safety check with every visit - springs, cables, rollers, tracks, and your LiftMaster or Chamberlain opener included
You get a price before we start. It does not change when the truck arrives.
 Before
 After
After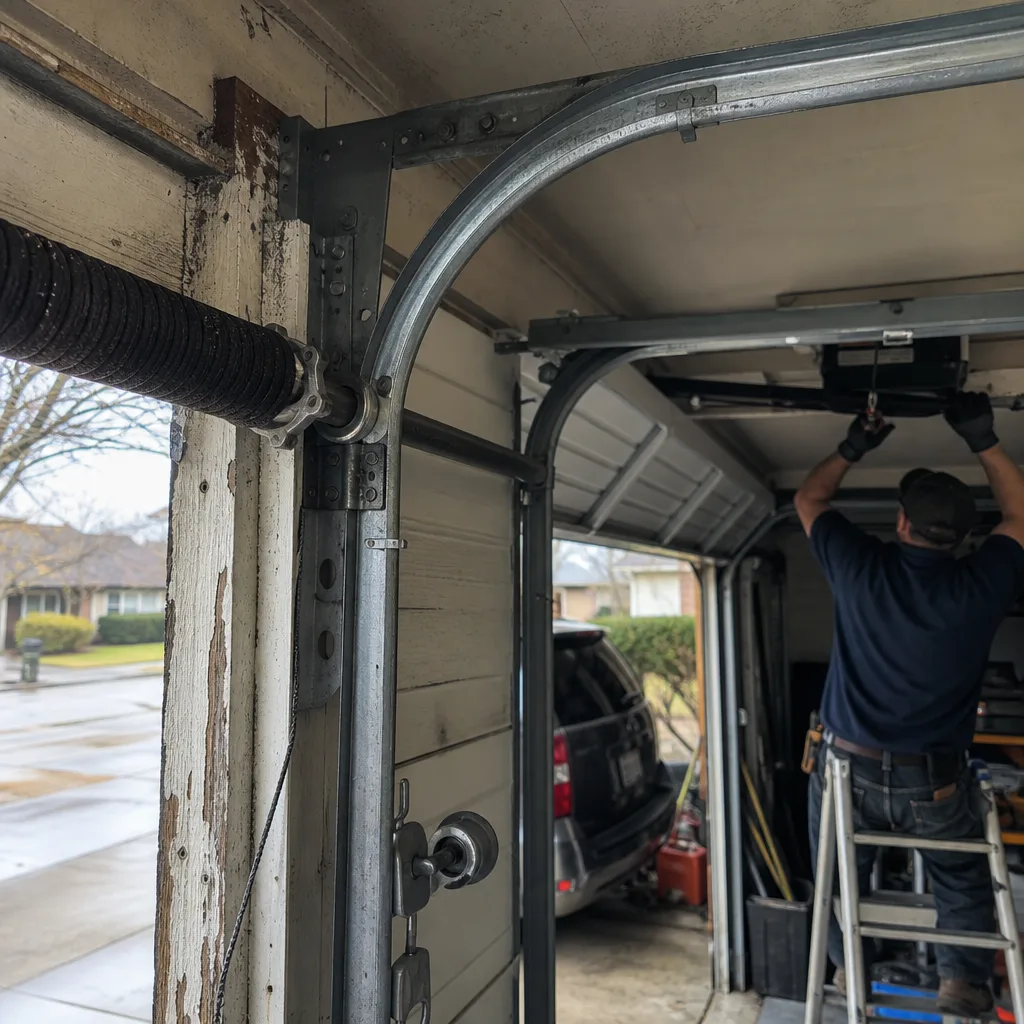 Before
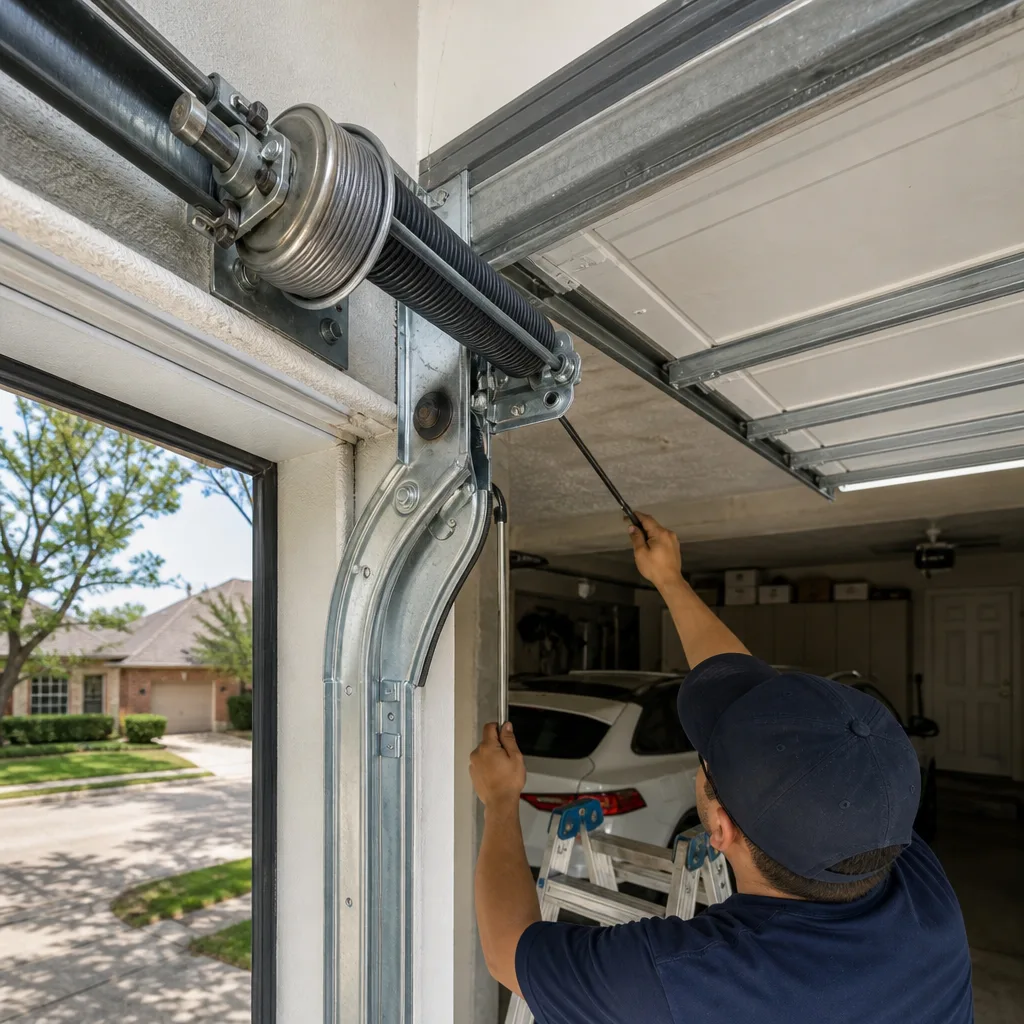 After
After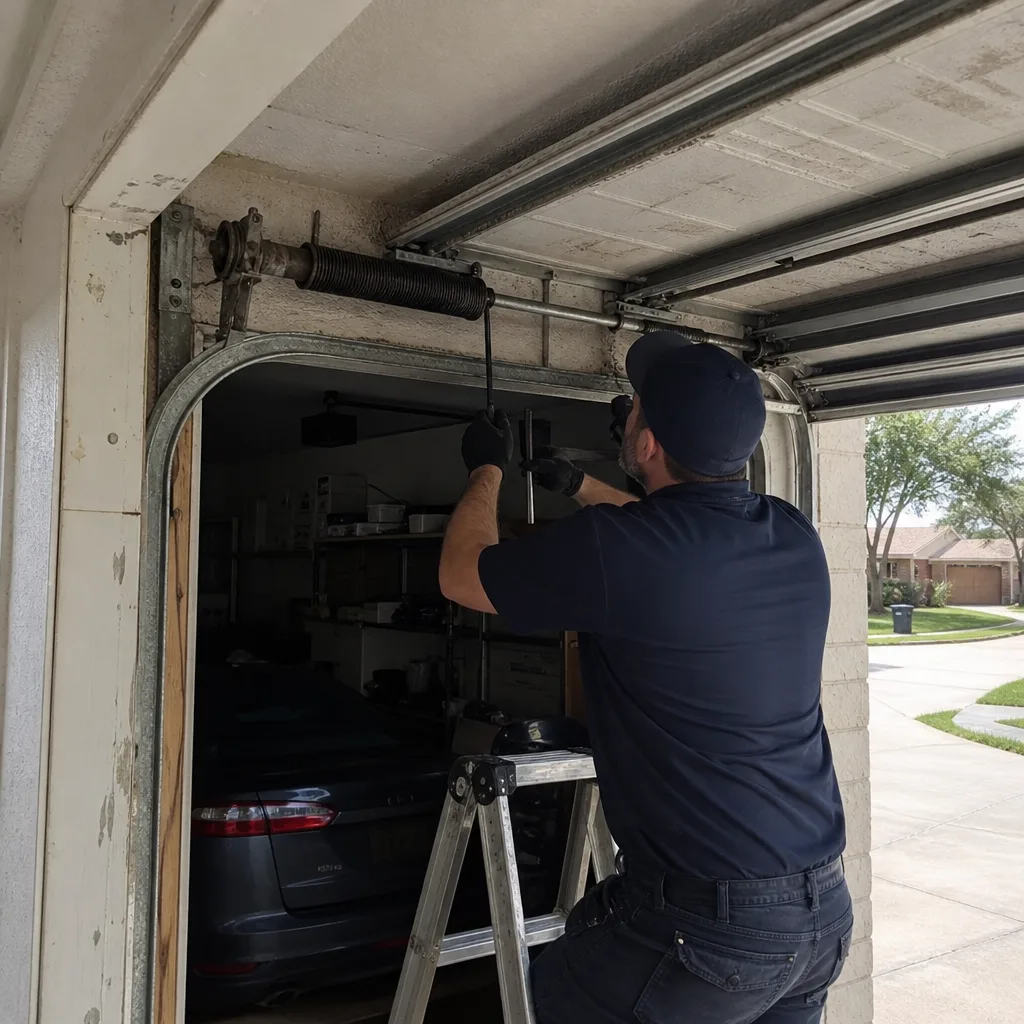 Before
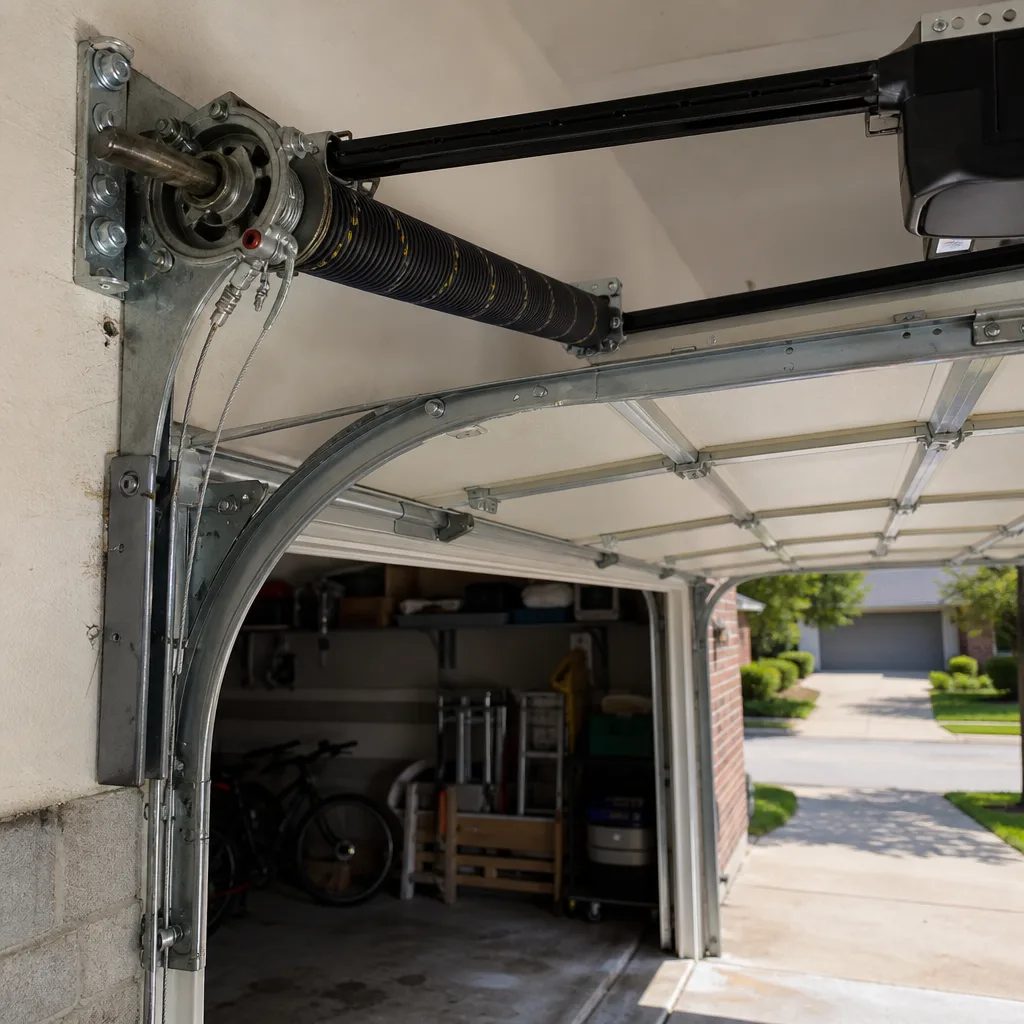 After
AfterGarage Door Repair Maintenance Checklist for Plano Homeowners
The most common “surprise” garage door failure in Plano is a snapped torsion spring, and it gives you four to eight weeks of warning before it lets go. The spring develops a visible gap in one coil, the door gets heavier by roughly the same amount your arm notices on the second lift, and you hear a bang from the garage at night as the spring shifts under tension. Every one of those signs appears on a proper maintenance checklist. Almost no homeowner in Plano catches them because the checklists they find online don’t explain what they’re looking at. This guide fixes that. You’ll learn the exact tests, the exact lubricants, the exact tolerances, and what to write down so a technician can read your door’s history in thirty seconds. For professional help when you need it, see our Garage Door Repair services.
Quick Answer
A garage door maintenance checklist for Plano homeowners covers seven items: visual spring inspection, door balance testing, roller and hinge lubrication with the correct product per material, cable inspection at the drum, photoelectric sensor alignment within one-quarter inch, opener force testing, and a written log of each check. Running this list every four months catches the failures that cost $280 to $900 before they happen. Skip the lubrication step on nylon rollers, skip the balance test entirely if you have an older extension-spring door, and never touch the bottom cable bracket bolts yourself.
Table of Contents
- Torsion Spring Inspection: The Test That Predicts the Break
- The Door Balance Test, Explained Mechanically
- Component-Specific Lubrication: What Gets Silicone, What Gets Lithium, What Gets Nothing
- Cable Inspection at the Drum: Plano Heat and Fraying
- Photoelectric Sensor Alignment: Exact Tolerances and Texas Code
- Opener Force Testing: What the Machine Is Telling You
- Record-Keeping Format: What to Log After Every Inspection
- Plano Seasonal Schedule: When Each Check Matters Most
BeforeAfterTorsion Spring Inspection: The Test That Predicts the Break
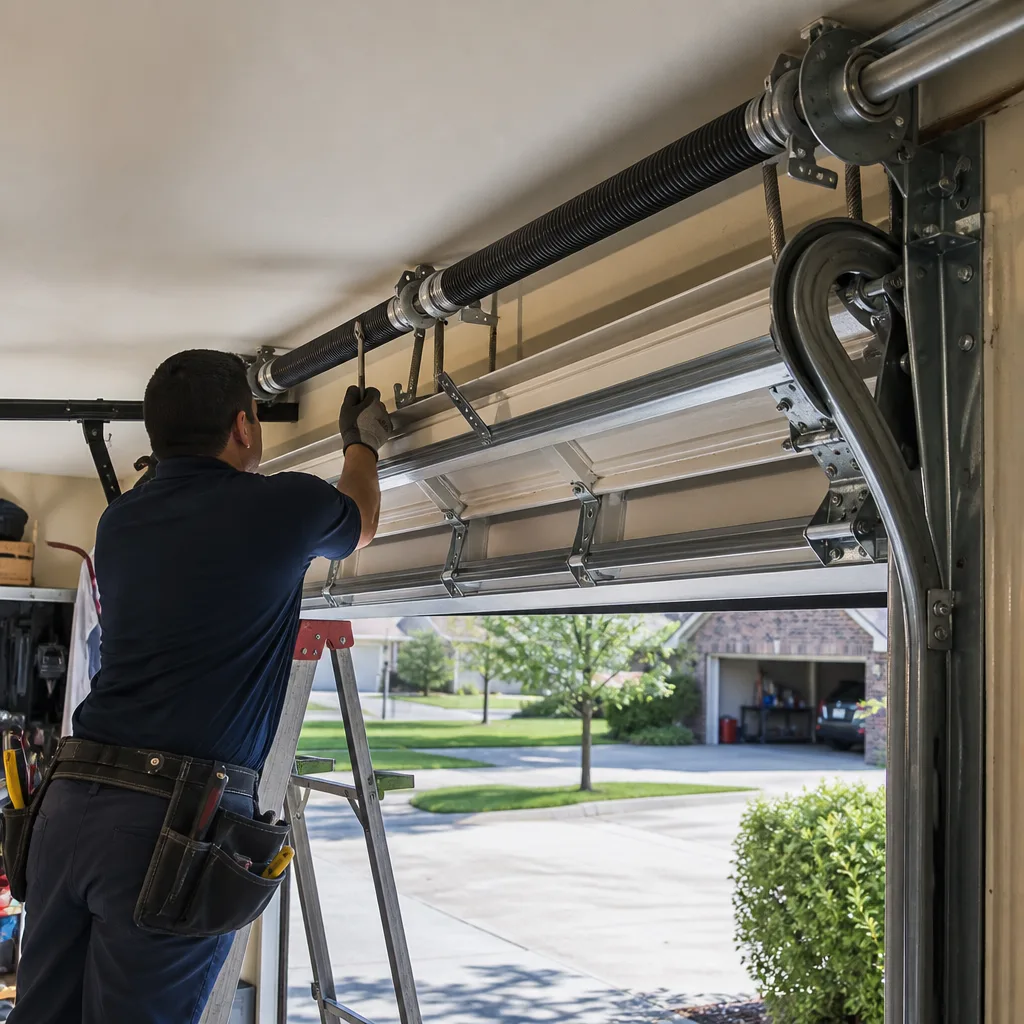
A torsion spring is the coiled steel shaft above your garage door that counterbalances the door’s weight. When it breaks, the door weighs what it actually weighs, which in Plano is often 150 to 250 pounds for a double door. The spring breaks suddenly because the steel fatigues slowly. The inspection is visual, takes ninety seconds, and requires no tools.
Stand inside the garage with the door closed. Look at the spring above the center of the door. On a single-spring system, you’ll see one spring from end to end. On a two-spring system, you’ll see a spring on each side, separated by a center bearing plate. Run your eye along each coil slowly, from left end to right end, looking for a gap that is wider than the gaps on either side of it. A torsion spring is wound tight, and the coils sit almost touching. When one coil separates by an eighth of an inch or more, that is the fatigue point. The spring will break there. It is not a question of if; it is a question of weeks.
The second sign is rust. Surface rust alone is common on Plano doors, especially in older homes in the Douglass Park and Pittman Estates neighborhoods where original doors from the 1990s still hang. Surface rust is cosmetic. Pitting, where the rust has eaten a small crater into the steel, is structural. A pitted spring is a broken spring waiting for a cold morning or a heavy cycle. Write down what you see, with the date. If there is any gap in the coils or pitting anywhere on the spring, stop using the door and call a professional. A spring under full torsion holds roughly one and a half times the door’s weight in stored energy. It is the one component on the door that deserves genuine respect. We’ve seen what happens when a homeowner tries to adjust one with a screwdriver. It ends with a trip to the ER and a door that still doesn’t work.
For every inspection, photograph the spring with your phone. The photo from March gives you a baseline. The photo from July shows whether the gap widened. A gap that grows tells you the spring is actively failing. A photograph also gives any technician a starting point, which aligns with how we work at Servo: photograph the failed component before quoting a replacement, per Clause 4 of The Haven Standard. It’s how our Garage Door Repair in Plano visits begin, every time.
The Door Balance Test, Explained Mechanically
The balance test tells you whether the spring is doing its job. What “balanced” means, in pounds of spring tension, is that the spring or springs are wound tightly enough to hold the door at any point in its travel without assistance. A balanced door, released at waist height, should stay exactly where you left it. It should not drift up more than two inches or down more than two inches.
Here is the safe way to run the test. Pull the red emergency release handle while the door is closed. The handle hangs from a rope attached to the trolley carriage, the part that connects the door to the opener rail. Pull it straight down and then release. That disconnects the door from the opener. Now lift the door by its handle or bottom edge. Raise it to waist height. Let go. Do not step under the door during this test. Stand to the side, one hand left on the door in case it moves. Count to five.
If the door stays within two inches of where you left it, your springs are carrying the correct load. If the door drops more than two inches, the springs are under-tensioned: they are not providing enough lift, which means your opener motor is working harder every cycle to compensate. The opener was not designed for that extra load, and a motor that works harder fails sooner. If the door rises more than two inches on its own, the springs are over-tensioned: they are providing too much lift, which means the door closes too fast during normal operation and stresses the hinges and the opener rail. A two-inch drift in either direction is acceptable. A six-inch drift is a spring that needs correction.
A note of caution: this test applies to doors with torsion springs. If your door has two long springs running along the horizontal tracks on either side, those are extension springs. The balance test is less meaningful on extension-spring doors because the spring tension changes as they stretch. Those doors also should not be adjusted by a homeowner, ever. Extension springs store energy when stretched, and the cables that connect them to the door are under force even with the door up. In Plano homes built before the 1980s, extension springs are still common in older garage conversions in the Mendenhall and Old Towne areas. If you are unsure which type of spring you have, do not run the balance test. Call someone who can tell you. Our technicians at Servo Garage Doors Plano home visits will identify your spring type before touching anything, and you’ll get a written scope and price before any work starts. No exceptions, per Clause 1 of The Haven Standard.
Component-Specific Lubrication: What Gets Silicone, What Gets Lithium, What Gets Nothing
This is the step where most online checklists fail. They say “lubricate the rollers” as if all rollers are the same. They are not. Lubricating the wrong roller or using the wrong product shortens the life of the part and quiets nothing.
First, the products. You need white lithium grease in a small tube or can, and you need a silicone-based spray lubricant. That’s it. Do not use WD-40. WD-40 is a water displacer, not a lubricant for load-bearing steel; it strips away the grease that was already doing the work and leaves the metal unprotected. Do not use motor oil. Do not use cooking spray. Do not use graphite powder on a garage door. Buy lithium grease from any hardware store, brand irrelevant. Buy silicone spray from the same shelf. The two products do different jobs.
Here is what gets what.
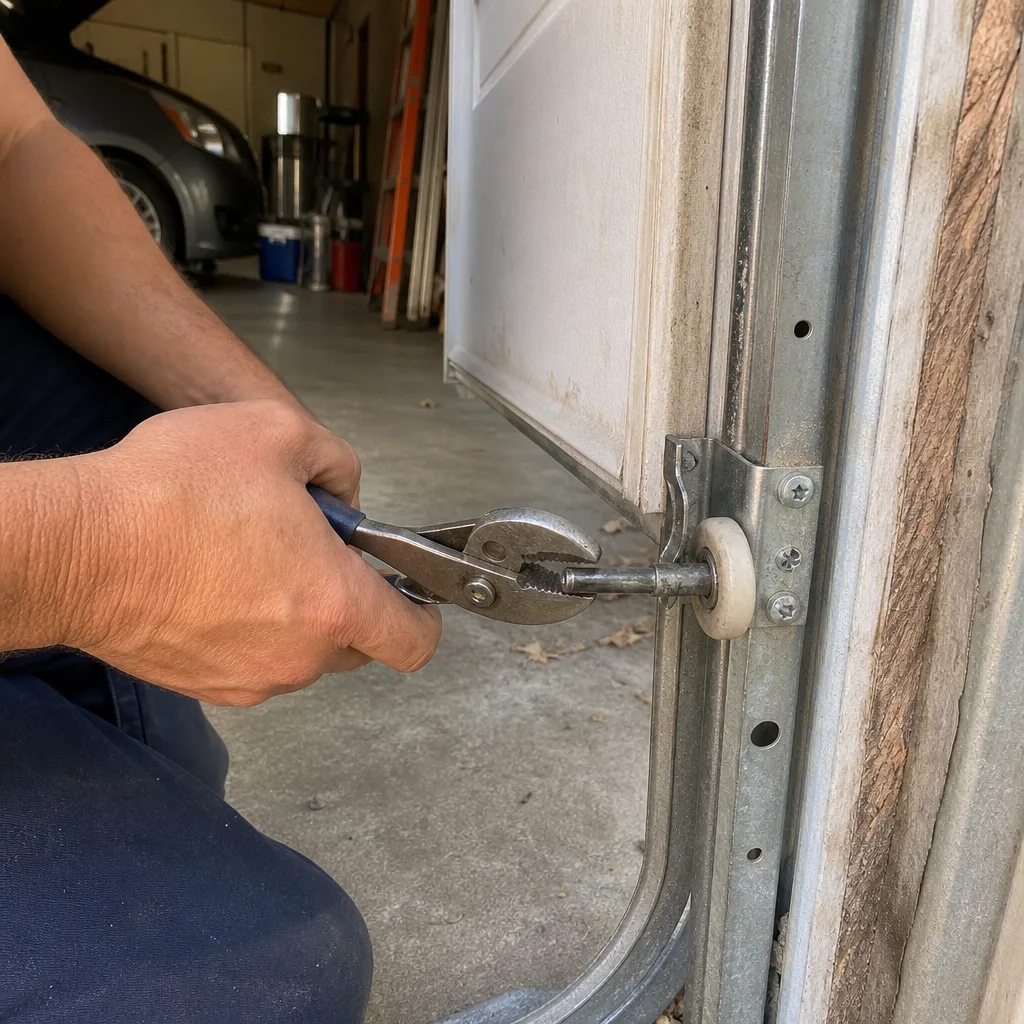
- Nylon rollers: nothing. Nylon rollers have sealed ball bearings inside the wheel. The nylon wheel itself does not need lubrication, and the bearing is sealed, so spray does not reach it. Spraying silicone on a nylon roller attracts dust, which collects in the track and on the wheel, which creates exactly the grinding noise you were trying to prevent. Nylon rollers are quiet because they are self-lubricating. Leave them alone.
- Steel rollers: silicone spray, light coat. Steel rollers have unsealed ball bearings. A short spray of silicone on the bearing area, on both sides of the wheel, once per year is sufficient. Wipe away any excess with a rag. Excess spray drips onto the track and collects dirt.
- Hinges: silicone spray, every six months. The hinges are the metal plates that fold as the door travels. Each hinge has a pin. Spray each pin with silicone, then move the door through one full cycle by hand to work the lubricant in. Do this on hinges one through four, the three at the top and the one in the middle.
- Torsion spring: lithium grease, one light coat per year. Use a rag or a small brush to apply a thin layer of white lithium grease along the coils of the torsion spring. Do not spray it. Wipe off the excess. The grease prevents the coils from grinding against each other as the spring winds and unwinds, which is what causes the chirping sound some doors make.
- Track: nothing. Do not lubricate the vertical or horizontal track. The track is a guide rail, not a bearing surface. Grease on the track makes the rollers slide instead of roll, which flattens the roller surface and creates drag. Wipe the track clean with a dry rag. That’s the entire track maintenance routine.
- Opener rail: white lithium grease, one light coat per year. If your opener has a screw-drive rail, the threads need lithium grease. If your opener has a belt-drive rail, nothing. Belt-drive rails are polymer and self-lubricating. If your opener has a chain-drive rail, light lithium grease on the chain itself. Check your opener model if you are unsure which drive type you have.
One more Plano-specific note: dust. Plano sits on Blackland Prairie soil, and when the wind picks up in March and April, that fine clay dust gets into everything, including your garage. Lubricant left thick on any component becomes a dust magnet. Wipe away excess every single time. A dry garage door is a quiet garage door. If the door still makes noise after you have done all this correctly, the noise is mechanical, not lubrication-related, and it is time to get a Garage Door Opener Repair & Installation in Plano visit scheduled while the part is still repairable.
Cable Inspection at the Drum: Plano Heat and Fraying
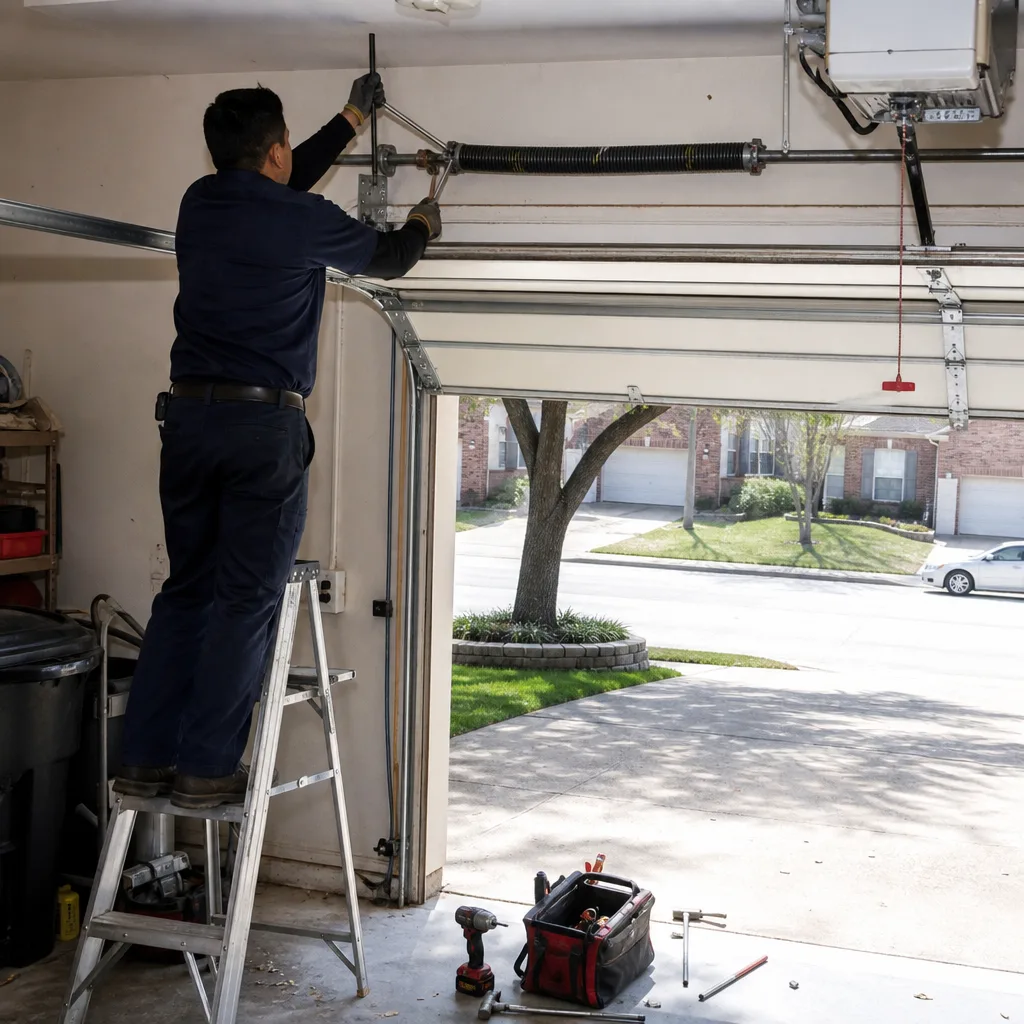
Garage door cables are the braided steel lines that run from the bottom corners of the door up to the cable drum, the round spool at the top of the torsion tube. The drum winds the cable as the door opens and unwinds it as the door closes. Plano summers put unusual stress on these cables for one reason: sustained heat above 100°F weakens the cable coating and accelerates metal fatigue at the point where the cable exits the drum.
The inspection is visual and requires no contact with the tension system. You are looking at the last six inches of cable where it exits the drum and runs down to the door. Here is what you check, in order.
- Look for a flattened or crushed section. Run your eyes along the visible cable from drum to bottom bracket. A cable that has jumped the drum once will have a flat spot where it was pinched. That flat spot is a weak point.
- Look for individual strands that have separated from the cable body. A braided cable is made of multiple thin steel strands twisted together. When one pops loose, it looks like a fuzzy wire sticking out at an angle. That is called a crown break. One crown break is a warning. Two is a cable that will snap within weeks.
- Look for rust at the cable end near the bottom bracket. The bottom bracket is the metal plate that bolts to the bottom corner of the door. The cable attaches to it with a loop. Rust at that loop is the most common failure point in Plano because that area collects moisture from rain splash when the door is open during a storm.
- Check the cable position on the drum itself. The cable should spool neatly in a single layer. If the cable is stacked on itself, or if it is riding against the edge of the drum, the drum is out of alignment. That condition wears the cable against the drum edge every time the door cycles.
Do not touch any part of the cable or drum during this inspection. The torsion system holds the cable under several hundred pounds of tension even when the door is fully closed. A frayed cable that lets go while you are handling it will slash whatever is in its path. If you see any of the four conditions above, stop using the door and call a professional. Cable replacement in Plano typically runs $180 to $350 including parts and labor, and a technician should replace both cables at the same time even if only one shows wear. If the other cable is the same age, it has the same fatigue, and the visit is already happening.
Photoelectric Sensor Alignment: Exact Tolerances and Texas Code
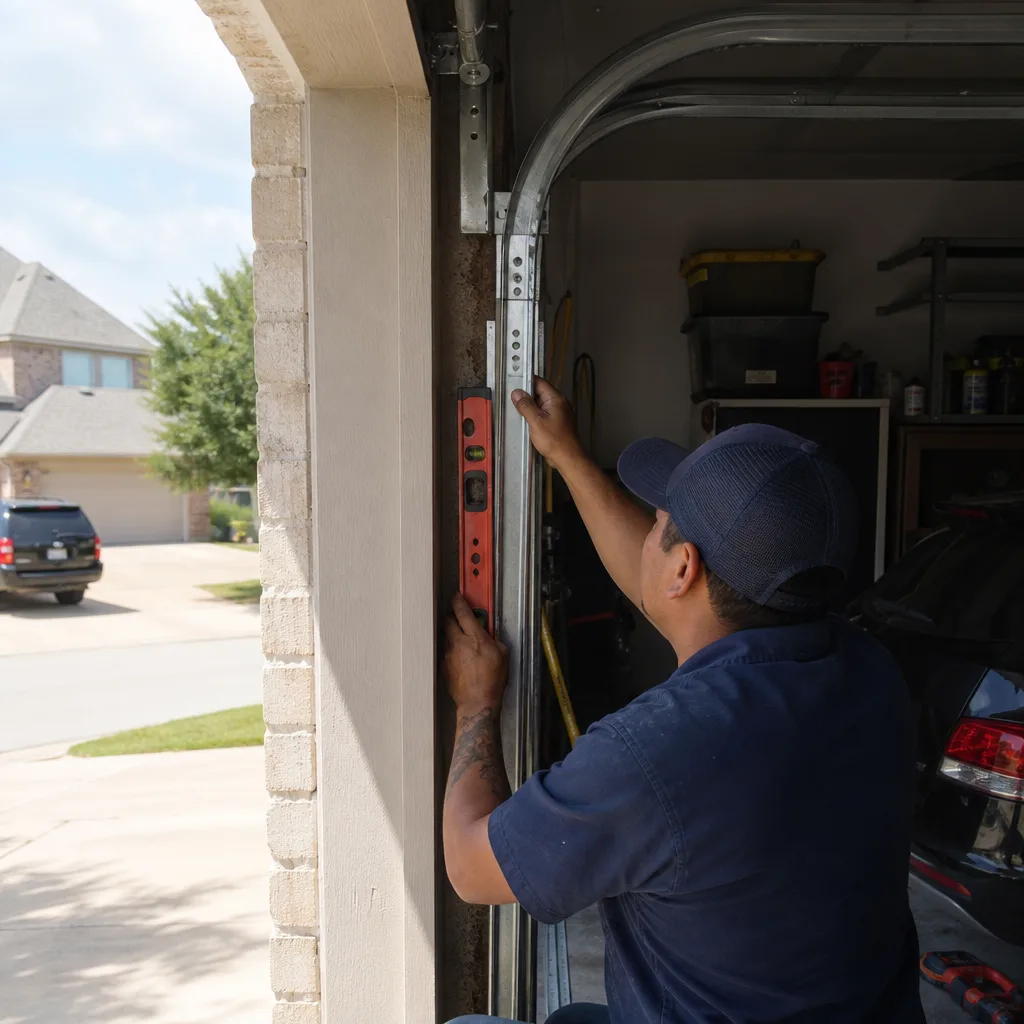
The photoelectric sensors are the two small boxes, one on each side of the door opening, mounted about six inches off the garage floor. They project an invisible infrared beam across the doorway. If anything interrupts that beam, the opener refuses to close. The sensors exist to stop the door from crushing a child, a pet, or a bicycle. They are required on every automatic garage door opener manufactured after 1993, and they are required to work.
The alignment check is simple. Here is the tolerance: the beam must be level to within one-quarter inch across the doorway. You can build a quick gauge with a two-by-four. Stand the board on end next to one sensor, and place a level on top of the board. Check that the sensor on the other side sits at the same height. If one sensor is more than one-quarter inch higher or lower than the other, the beam misses the receiver, and the door will not close.
Sensors get knocked out of alignment by routine garage traffic: a trash can nudged into the sensor bracket, a car bumper that taps the rail, a broom handle accidentally poked into the wiring. The symptom is consistent: the door starts to close, then reverses and goes back up, and the opener lights blink. The lights are a diagnostic code, not a decorative feature. Chamberlain and Genie openers use different blink patterns to indicate different faults; check your opener’s manual to decode the exact pattern.
Here is the step-by-step alignment procedure.
- Check that both sensor lights are on. One sensor has a green light that means “receiving power.” The other has an amber or red light that means “beam aligned.” If one light is off, check that the wiring is connected and the circuit breaker has not tripped.
- Wipe the sensor lenses with a dry cloth. Dust from Plano’s March winds settles on the lenses and diffuses the beam, causing intermittent failures that are worse in the afternoon sun.
- Loosen the wing nut on the sensor bracket and tilt the sensor slowly up and down until the receiving sensor’s light turns solid. The beam is roughly the width of a finger, and patience matters more than force.
- Tighten the wing nut and run the door through two full cycles. If the door closes fully both times without reversing, the alignment is good.
One point that most checklists miss: in Texas, a misaligned or nonfunctional photoelectric sensor is not just an inconvenience. It is a safety code issue, because the door reversing mechanism depends on a working beam. If your door has been closing on objects or reversing for no reason, the sensors need attention before the opener suffers further damage. Opener logic boards burn out when the motor fights the reversal repeatedly. A $20 sensor adjustment beats a $280 logic board. Our Garage Door Installation in Plano work includes sensor alignment, verification, and a photo record of the finished setup, because the documentation matters as much as the repair.
Opener Force Testing: What the Machine Is Telling You
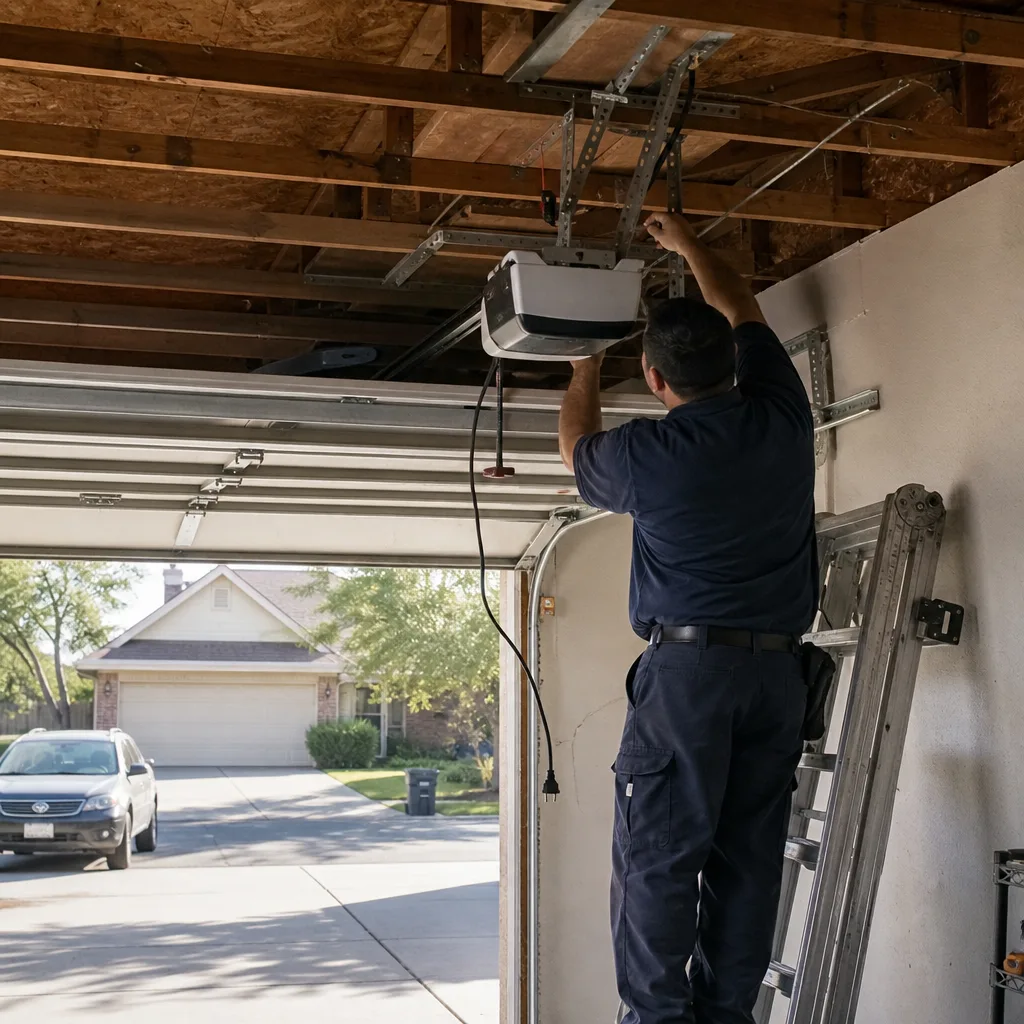
Your garage door opener has adjustable force settings: one controls how much force the motor uses to open the door, and one controls how much force it uses to close it. These settings exist to protect both the door and whatever is under the door. The force test tells you whether those settings match the door’s current condition, and whether the motor is working harder than it should.
Here is the test. Place a two-by-four flat on the ground under the path of the closing door. Close the door using the opener. The door should reverse within two seconds of contacting the wood, and the opener lights should blink. If the door crushes the wood or keeps pressing down for more than two seconds before reversing, the close force is set too high. That is a safety problem, not just a wear problem. If the door reverses before touching the wood, the force is set too low or the sensors are misaligned.
The open force test is similar. Hold the bottom of the door with one hand while the opener raises it. The door should stop or reverse with light resistance. If it pulls up hard against your hand, the open force is set too high. That condition occurs when the springs lose tension and the motor compensates by working harder. It is the opener’s way of telling you the springs are failing. The adjustment is not to crank the force setting up; the adjustment is to fix the springs. When a technician at Servo sees a door that needs excessive opener force, the first check is the spring, because the spring is the root cause, not the opener. We document the spring’s condition with photographs before we quote anything, per Clause 4 of The Haven Standard.
Adjusting force settings is possible on most Chamberlain and LiftMaster openers through the wall control panel, but do not treat this as a way to extend a failing door’s life. The force setting exists to protect people and parts. If you find yourself raising it every few months, you are managing a symptom. The door needs real work, and the written quote for that work should include the force settings as part of the scope.
Record-Keeping Format: What to Log After Every Inspection
The checklist does not end when you set the wrench down. It ends when you write down what you saw. A written record gives you a baseline, which means the next inspection is a comparison, not a fresh start. It also gives a technician useful history, which means the person who eventually works on your door is not starting from zero.
Here is the format we recommend keeping in a notes app or a garage notebook.
- Date of inspection.
- Spring condition: note any coil gap in inches, any rust or pitting, any change in noise level.
- Balance test result: note the drift in inches, up or down, after releasing the door at waist height.
- Lubrication performed: note which products applied to which components, and whether any excess was wiped away.
- Cable inspection result: note any crown breaks, rust at the loop, or cable stacking on the drum.
- Sensor alignment: note whether the beam was in tolerance, and whether any adjustment was made.
- Opener force test result: note whether the door reversed within two seconds on the two-by-four test.
- Any repairs or replacements made in the previous quarter.
Take one photo of the spring and one photo of each cable during every inspection. Store those photos with the log entry. When a technician arrives for a service call, show them the log and the photos. That is not just a courtesy; it is a diagnostic shortcut. A spring that measured a one-eighth-inch gap in April and a three-eighth-inch gap in July tells the technician exactly where the spring is in its failure curve. We see this same documentation discipline in our own work. Every Servo visit ends with a documented photo record of findings and completed work delivered to the customer. The customer sees the failed part before anyone quotes a replacement. Your maintenance log extends that same evidence-based approach backward in time.
Plano Seasonal Schedule: When Each Check Matters Most
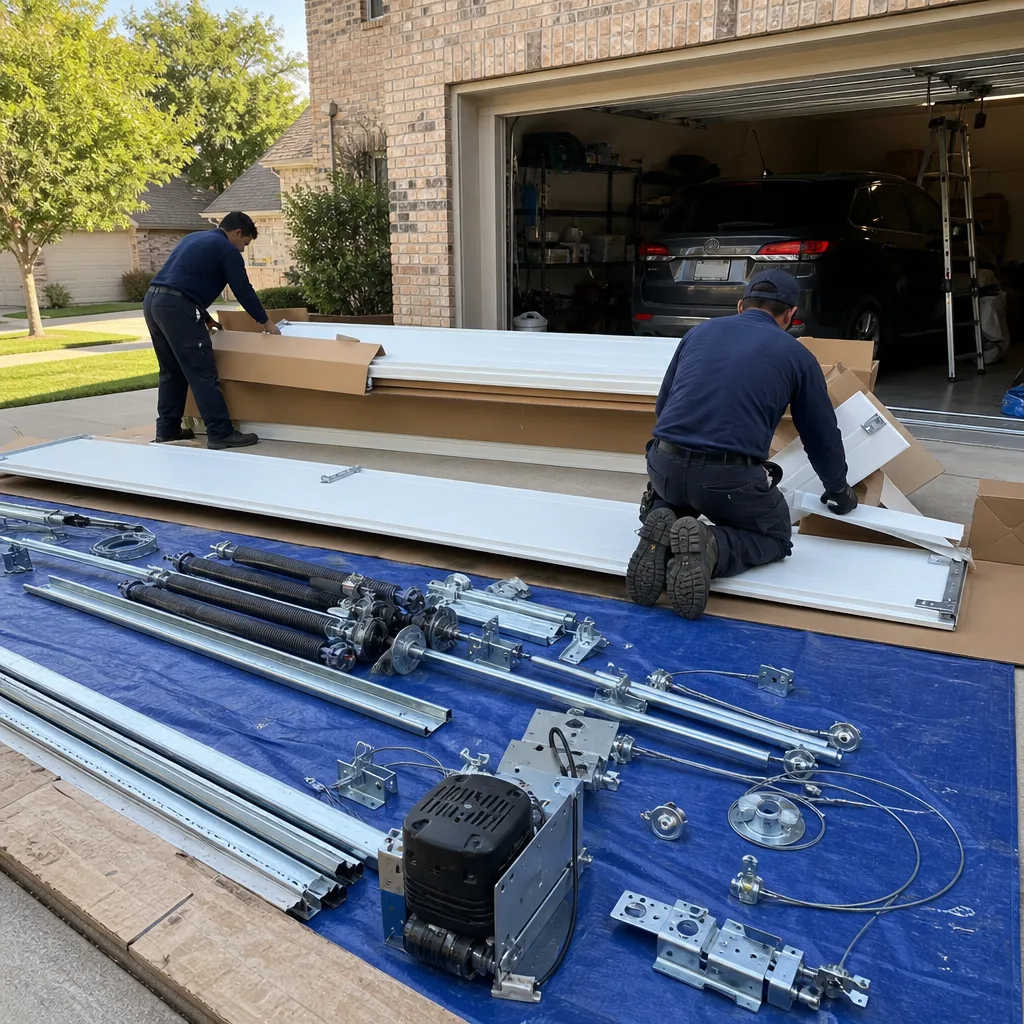
Plano’s climate is not neutral. The door responds to the seasons differently, and running every checklist item every time is unnecessary. Here is the schedule that matches what we know about how doors fail in this city.
March and April. The wind season. Fine dust from Blackland Prairie fields and construction sites gets into the garage and onto every lubricated surface. Run the full lubrication checklist after the wind settles. Wipe tracks clean. Check that sensor lenses are clear of dust haze. This is also the season when spring failures in Plano cluster, because the temperature swings from cold nights to warm days cause the steel to contract and expand at different rates, which accelerates fatigue at existing weak points.
June through August. The heat season. Cable inspection matters most now, because sustained temperatures above 100°F age the cable coating and fatigue the metal at the drum exit point. Run the cable checklist monthly during these months. Listen for new noises from the door, which indicate that the heat is affecting the springs or rollers.
September and October. The rain season. Check for rust at the bottom bracket loops and cable ends after extended rain, especially if your garage floor is not fully sealed. Water splashes into the bottom brackets and sits there, rusting the loop from the inside.
November through February. The cold season. Torsion springs are more brittle in cold temperatures, and a spring with an existing coil gap is more likely to break on a cold morning. Run the spring inspection monthly during these months. Listen for a loud bang from the garage during the night, which is the spring shifting or failing.
If this schedule feels like more than you want to manage, that’s understandable. It is also why we exist. Servo Garage Doors Plano has done 18,000+ garage doors made right since 2015, every one with a written price before work started and a documented record when the technician left. Our techs inspect the springs, cables, sensors, and opener force on every visit, and they leave you with the photo record. If you’d rather have someone else run the checklist, call (469) 455-3103 and ask for a maintenance inspection. You’ll get a flat written price before anything is touched, per Clause 1 of The Haven Standard.
Common Mistakes to Avoid
- Lubricating nylon rollers. Nylon rollers have sealed bearings. Lubricant does not reach the bearing, and the excess attracts dust that collects on the wheel and track. This creates the grinding noise you were trying to eliminate.
- Spraying the track. The track is a guide, not a bearing surface. Grease on the track makes the rollers slide instead of roll, which flattens the roller face and increases drag on the motor.
- Adjusting torsion spring tension without proper tools and training. Torsion springs store enough energy to break bone. The winding bar technique requires specific bars, specific length, and specific technique. This is not a DIY adjustment, no matter how many YouTube videos suggest otherwise.
- Raising the opener force setting to compensate for a weakening spring. The motor works harder, the opener heats up, and the door still fails. Fix the spring. The force setting is not a repair.
- Ignoring a door that reverses for no reason. Repeated reversal cycles stress the opener motor and logic board. The cause is usually sensor misalignment or a failing spring. Both are cheaper to fix early, before the logic board fails and the repair becomes a $400 replacement.
- Skipping the photo record. Without a photograph from the last inspection, you have no baseline. The next inspection becomes a fresh start instead of a comparison, and the technician loses the most useful diagnostic data you can provide.
- Using WD-40 on any garage door component. WD-40 displaces water and strips away existing lubrication. It is not a garage door lubricant, and using it shortens the life of every part it touches.
When to Call a Professional
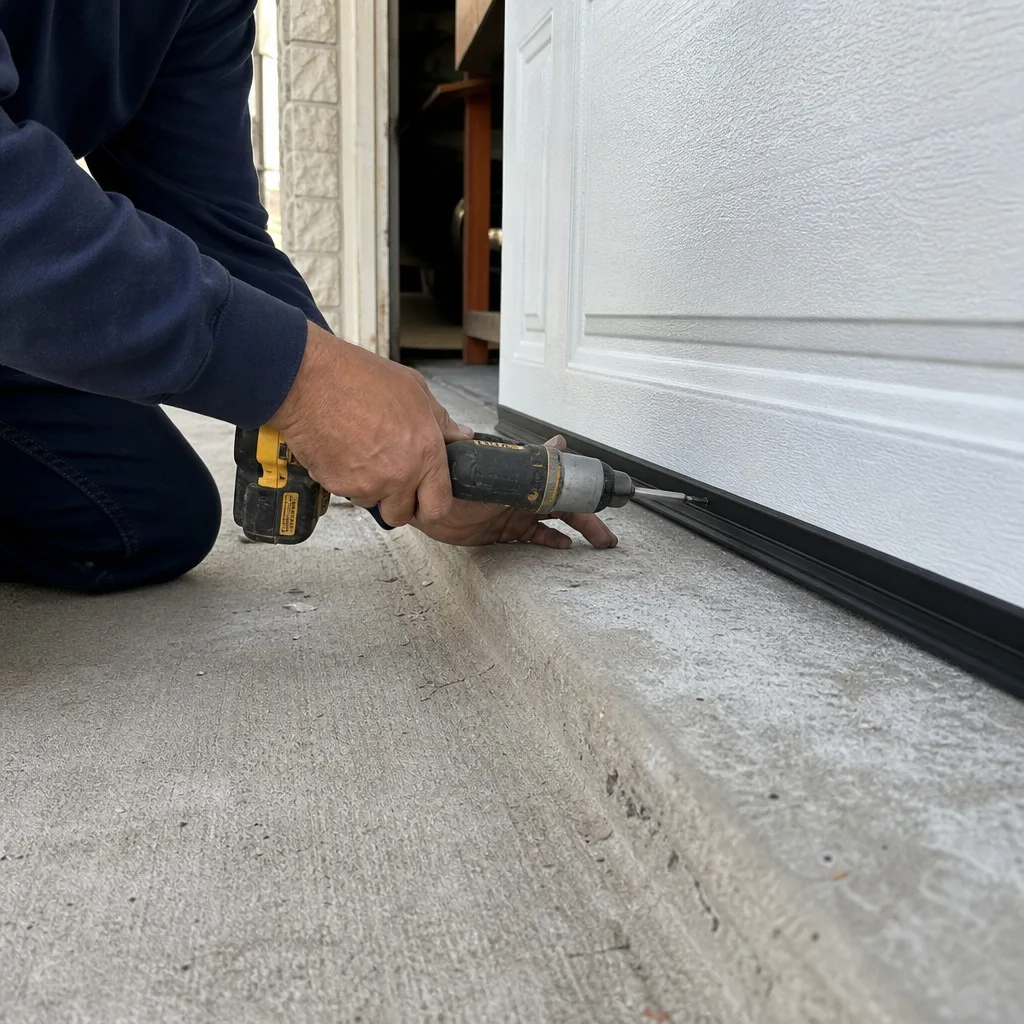
Call a professional when you see a coil gap in your torsion spring, when you find a crown break in a cable, when you see cable stacking on the drum, or when the door will not close because the sensors will not align after you have tried the procedure above. Call when the door bangs loudly during operation, when the spring has visible pitting from rust, or when the balance test shows more than six inches of drift. Also call when you are not comfortable doing any of this yourself. The components under tension are under real tension. Servo Garage Doors Plano offers free estimates in Plano and across the metroplex, including emergency calls answered by a live person at any hour, at (469) 455-3103. You’ll get a written price before any work starts, and you’ll leave the visit with a photo record of what was found and what was done. That’s The Haven Standard, applied to every door, every time.
Frequently Asked Questions
A basic maintenance inspection in Plano typically costs between $85 and $150, and includes spring inspection, cable inspection, sensor alignment, lubrication, and opener force testing. That price is quoted in writing before the technician touches anything, per Clause 1 of The Haven Standard. If the inspection uncovers a needed repair, you’ll get a separate written quote for that repair before any additional work starts. Call (469) 455-3103 for an exact quote on your door.
Run the full checklist every four months: March, July, and November. Run the cable inspection monthly during June, July, and August, when Plano’s heat accelerates cable fatigue. Run the spring inspection monthly during November through February, when cold temperatures make an existing coil gap more likely to fail.
Yes, spring replacement is a same-day repair in most cases, and Servo Garage Doors Plano carries torsion springs for all eight major brands on the truck: LiftMaster, Chamberlain, Genie, Clopay, Amarr, Wayne Dalton, Craftsman, and Raynor. The spring is measured, the failed part is photographed, and the replacement is done after you approve a written price. Call (469) 455-3103 for emergency spring repair in Plano.
No. The price quoted is the price paid, unless the scope changes because you choose to add work. The flat, written price includes parts, labor, and the documented photo record. You approve the price before the technician starts, and there are no surprise line items at the end. That has been the Servo standard since 2015, and it is codified as Clause 1 of The Haven Standard.
We service and install Chamberlain, Genie, LiftMaster, and Raynor openers, among others, and we carry parts for all major brands. The opener’s brand matters less than its drive type, and our technicians identify the drive type before recommending any work. If you have a belt-drive, chain-drive, or screw-drive opener, we can diagnose and repair it with a written quote before work starts.
Yes. Bring us the written estimate from any other garage door company, and we will assess the same work and provide our own written scope and price. No coupon code required. The offer exists because Clause 1 of The Haven Standard demands a written price before work starts, and we want Plano homeowners to see what that looks like in practice. Call (469) 455-3103 to schedule a second opinion.
The Bottom Line
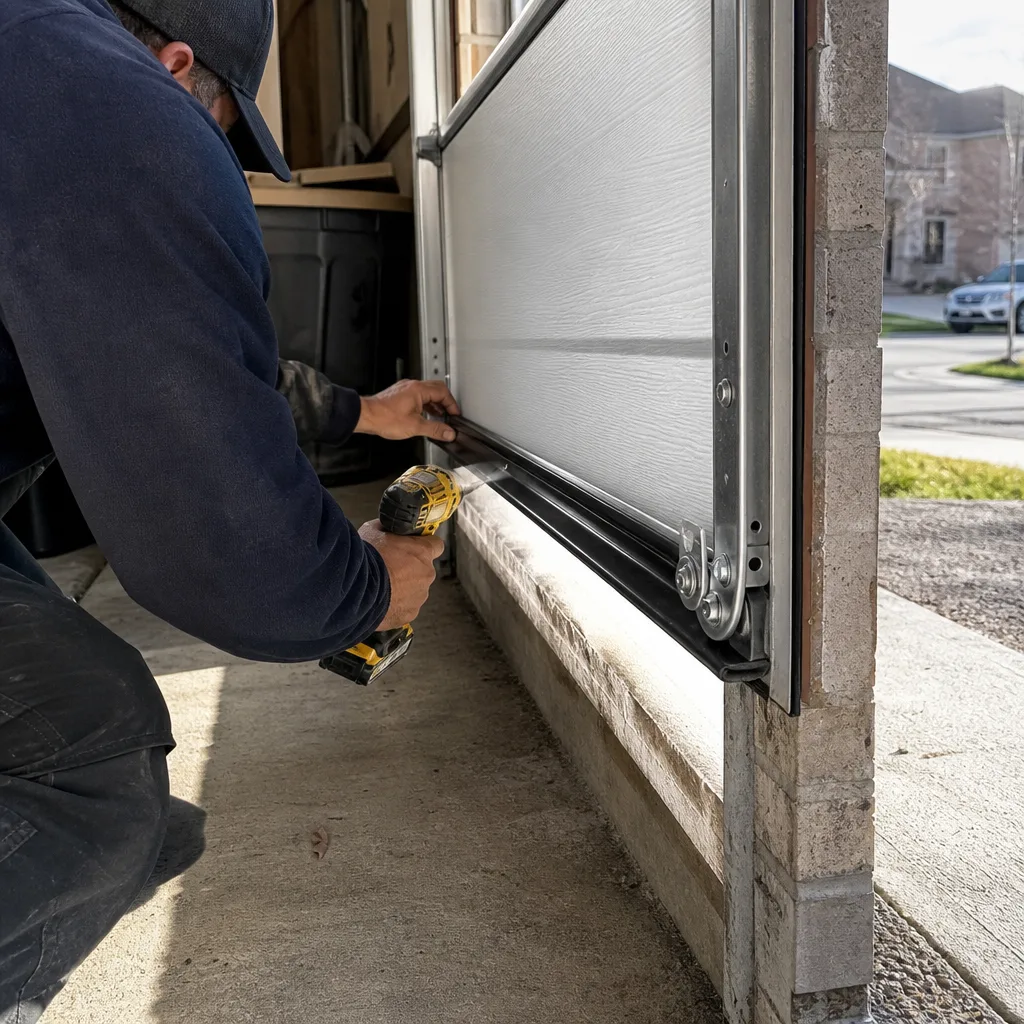
A garage door maintenance checklist only works if it tells you what failure looks like and what to do when you see it. In Plano, that means knowing that a coil gap predicts a spring break, that heat above 100°F accelerates cable fatigue at the drum, that a two-inch drift on the balance test is normal while a six-inch drift is not, and that nylon rollers never get lubricated. Run the checklist every four months, photograph everything, and write down what you see. When something looks wrong, call a professional before the door stops moving, because the door always tells you first. If you want someone else to run the list, or if you want a second set of eyes on a door you inherited, call (469) 455-3103 for a free estimate in Plano.
Written by Marcus Deller, Owner at Servo Garage Doors Plano, serving Plano since 2015.