
Last updated September 20, 2026
Full 25-point door and opener safety check with every visit - springs, cables, rollers, tracks, and your LiftMaster or Chamberlain opener included
You get a price before we start. It does not change when the truck arrives.
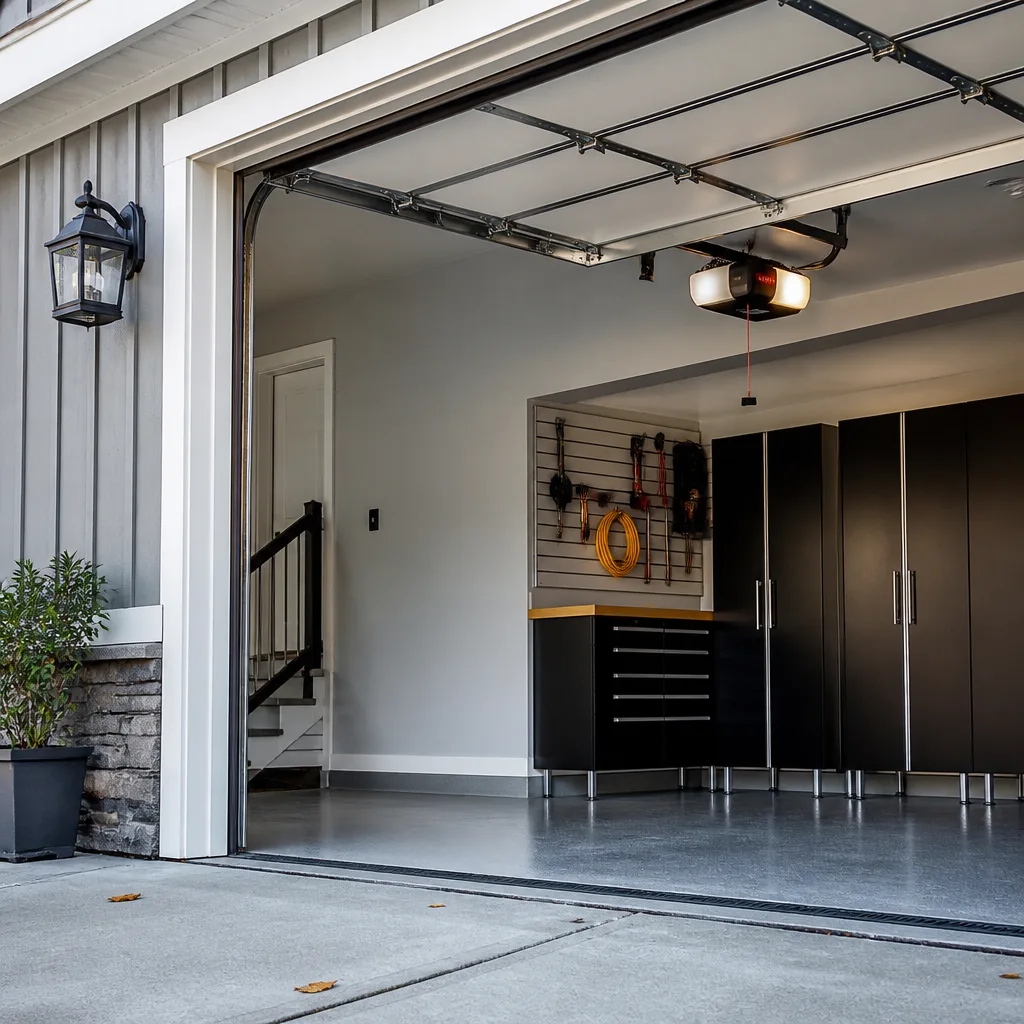
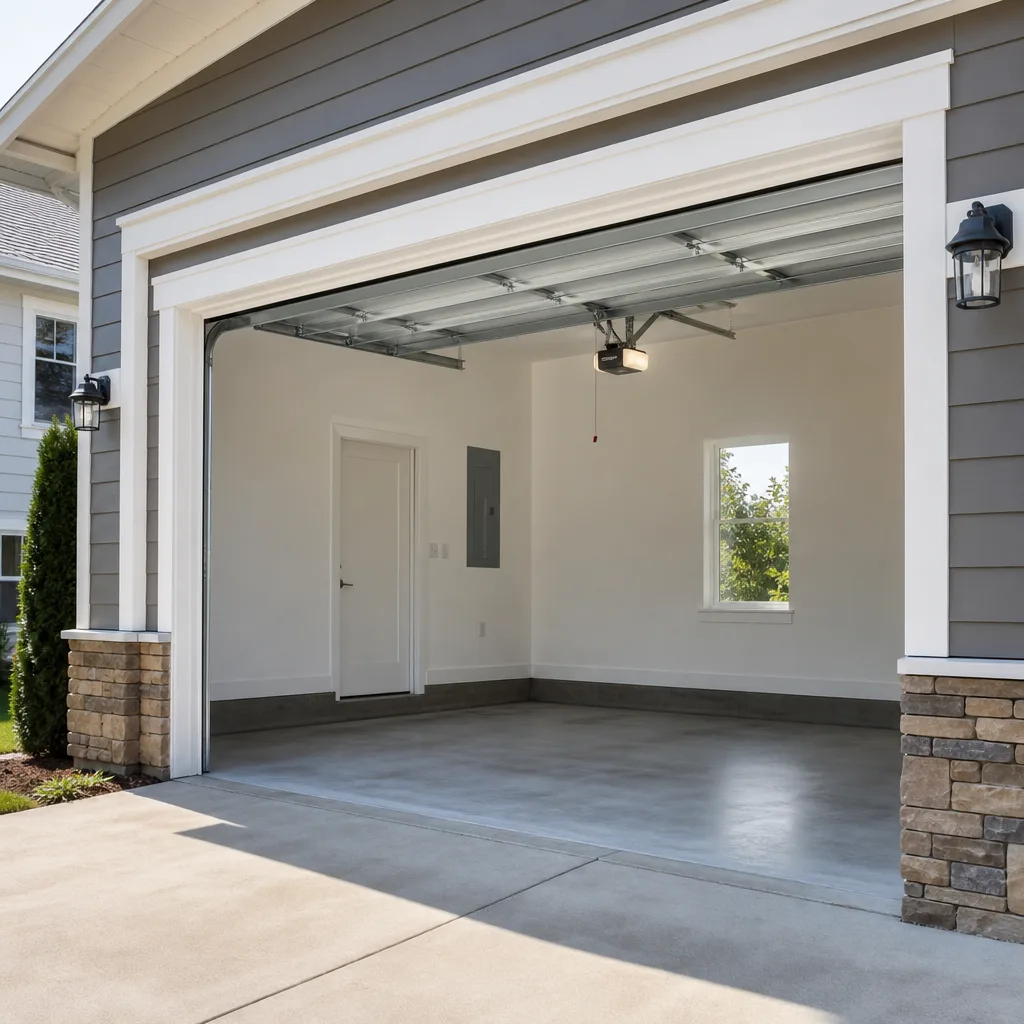
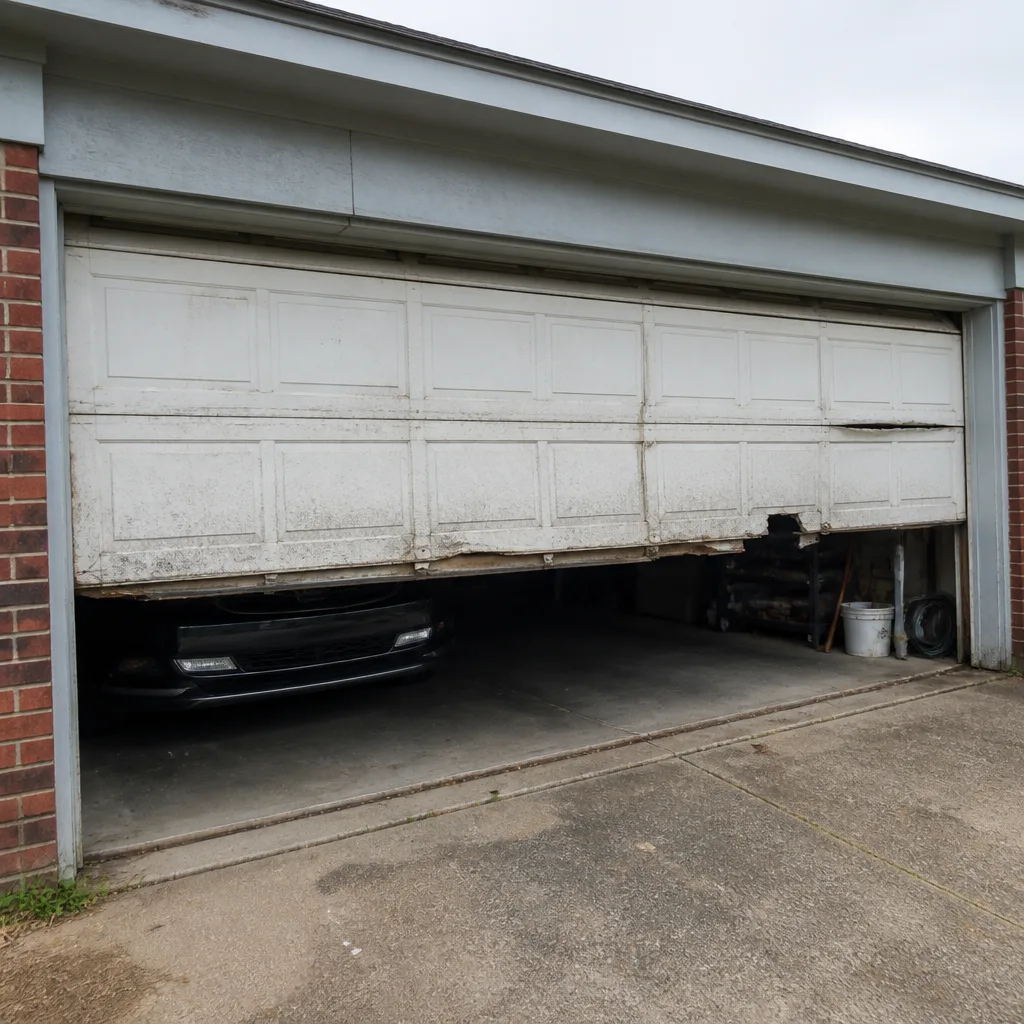 Before
 After
After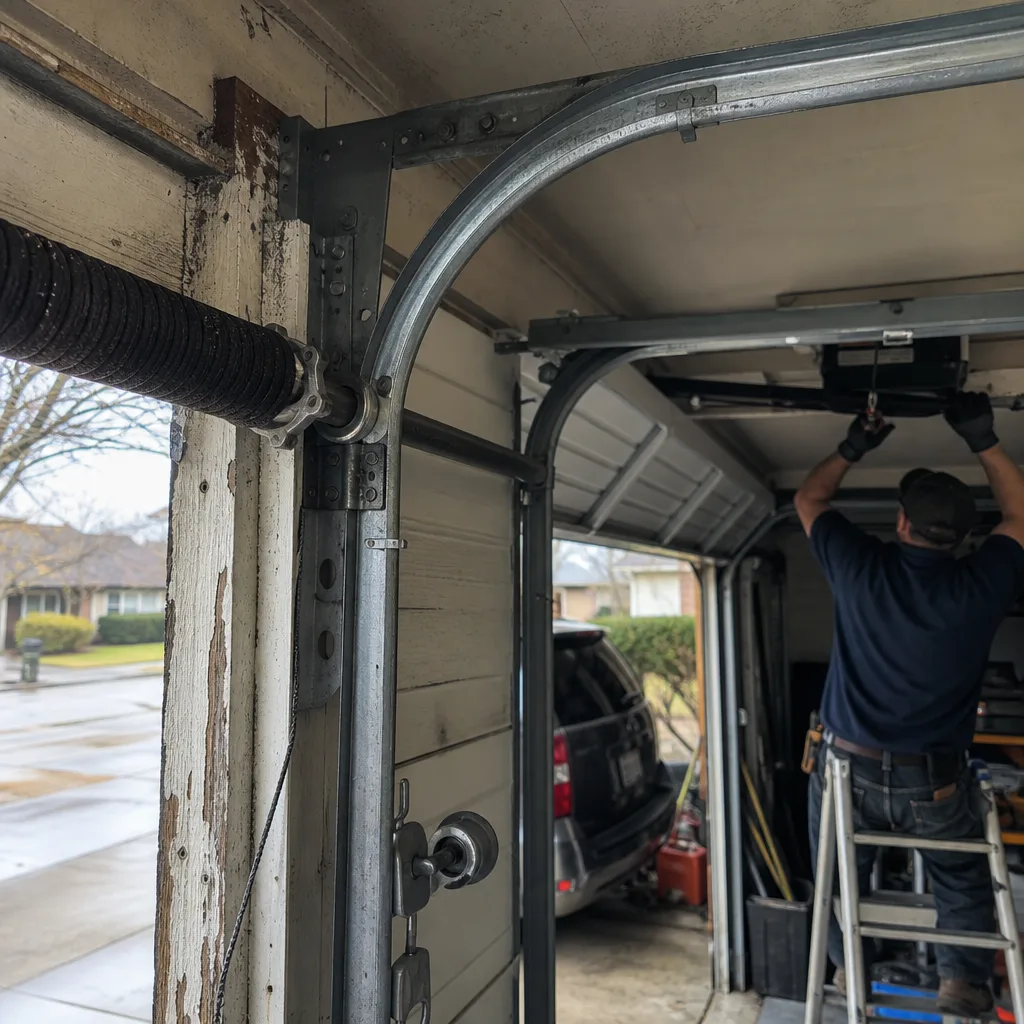 Before
 After
After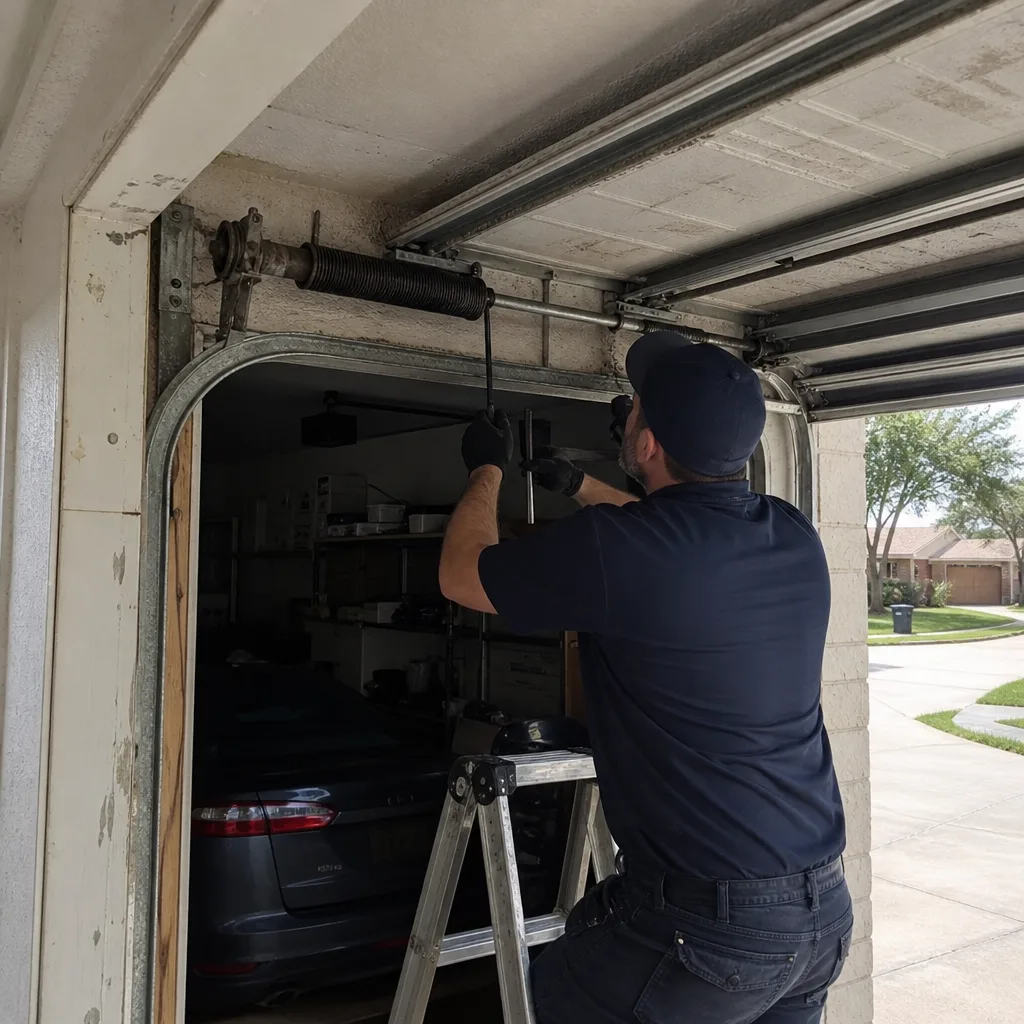 Before
 After
AfterDIY vs Professional Garage Door: The Plano Homeowner’s Decision Guide
A garage door torsion spring stores between 100 and 300 foot-pounds of torque, depending on door weight. Released uncontrolled, that energy can fracture a wrist or break a femur before you can react. This guide exists to draw one clear line: which garage door tasks in Plano are genuinely doable on a Saturday morning, and which ones carry mechanical risk that has nothing to do with how handy you are. For more guides & resources on keeping your door safe, see our blog. You’ll learn the five jobs no homeowner should attempt, the four jobs that are legitimately DIY with the right products, what tools actually matter, how to spot a dangerous YouTube tutorial, and the specific moments mid-task when a DIY job should stop and a professional call should start.
Quick Answer
Most Plano homeowners can safely handle four garage door tasks themselves: weatherstripping replacement, roller replacement with the opener disconnected, photoelectric sensor cleaning and realignment, and lubrication with the correct products. But five tasks should never be DIY under any circumstances: torsion spring adjustment or replacement, cable drum work, bottom bracket removal, horizontal track realignment under tension, and opener motor replacement on high-lift systems. The dividing line is stored tension, not skill. If a component holds spring torque, it holds the capacity to injure you.
Table of Contents
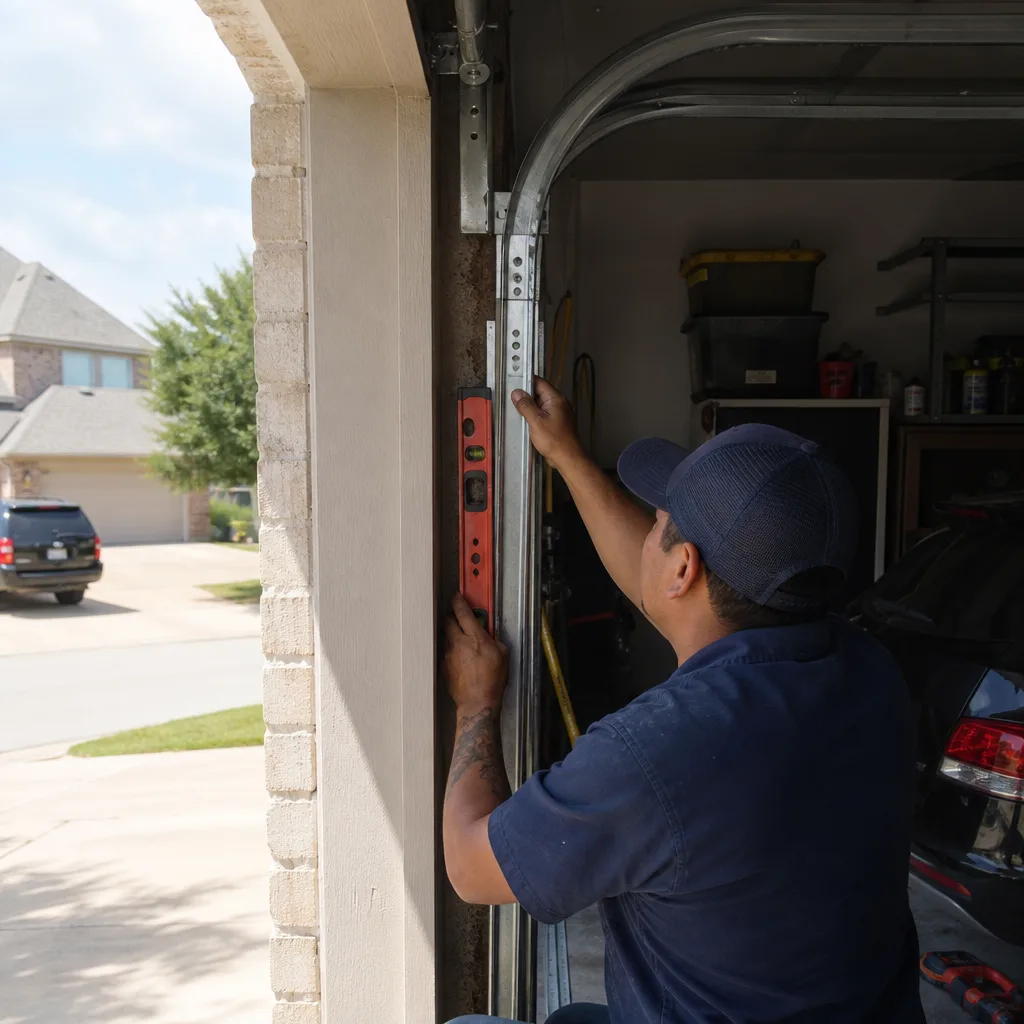
- The Physics That Draws the Line
- Five Jobs That Should Never Be DIY
- Four Legitimate DIY Tasks
- The Tool Cost Reality Check
- How to Evaluate a YouTube Tutorial
- When a DIY Job Should Stop
- What Plano Climate Does to Garage Doors
- Common Mistakes to Avoid
- When to Call a Professional
- Frequently Asked Questions
- The Bottom Line
BeforeAfterThe Physics That Draws the Line
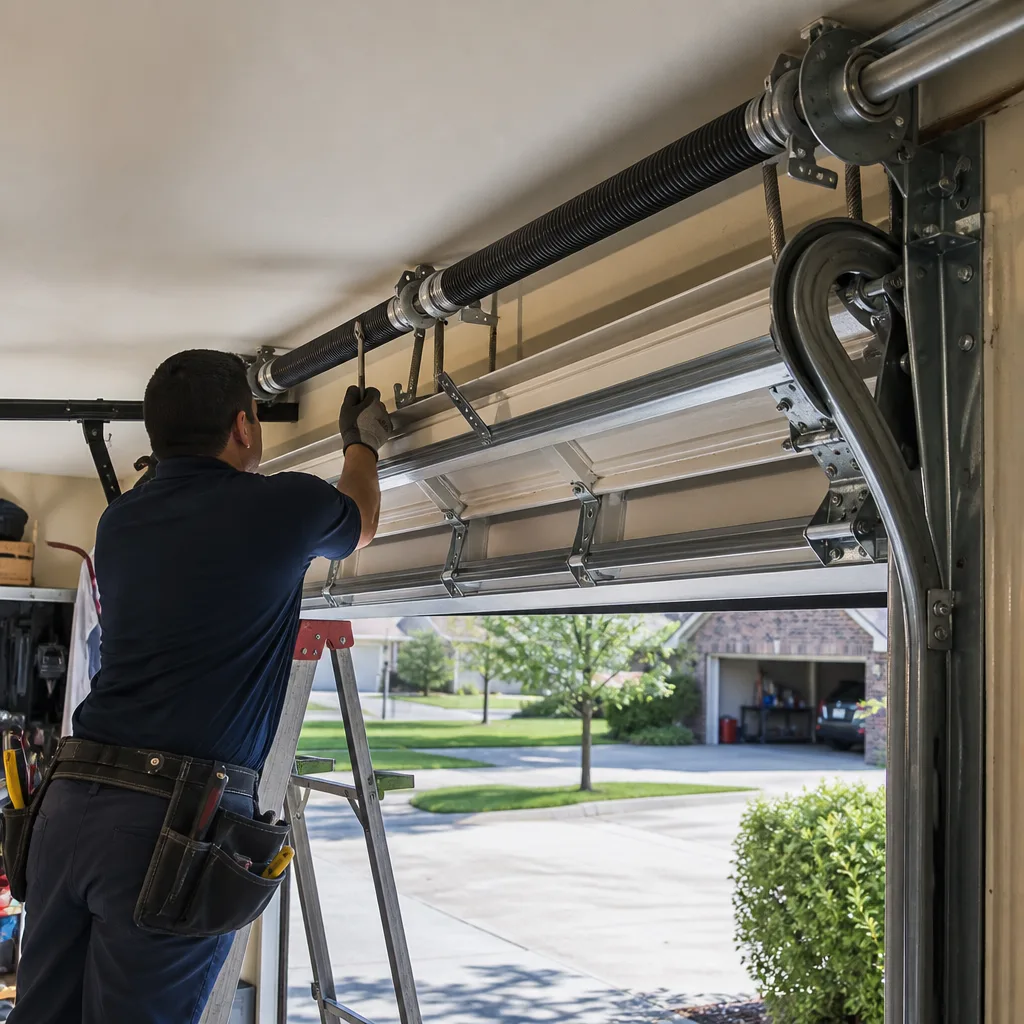
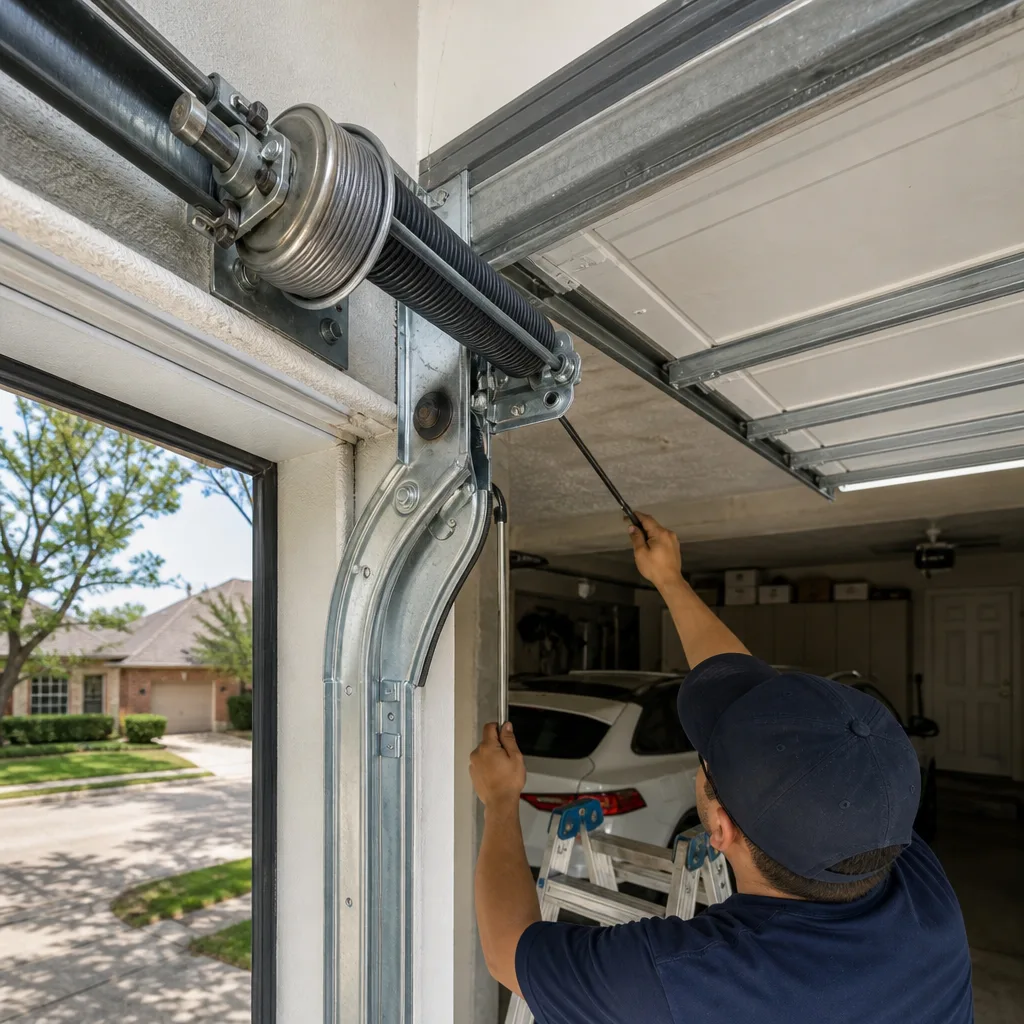
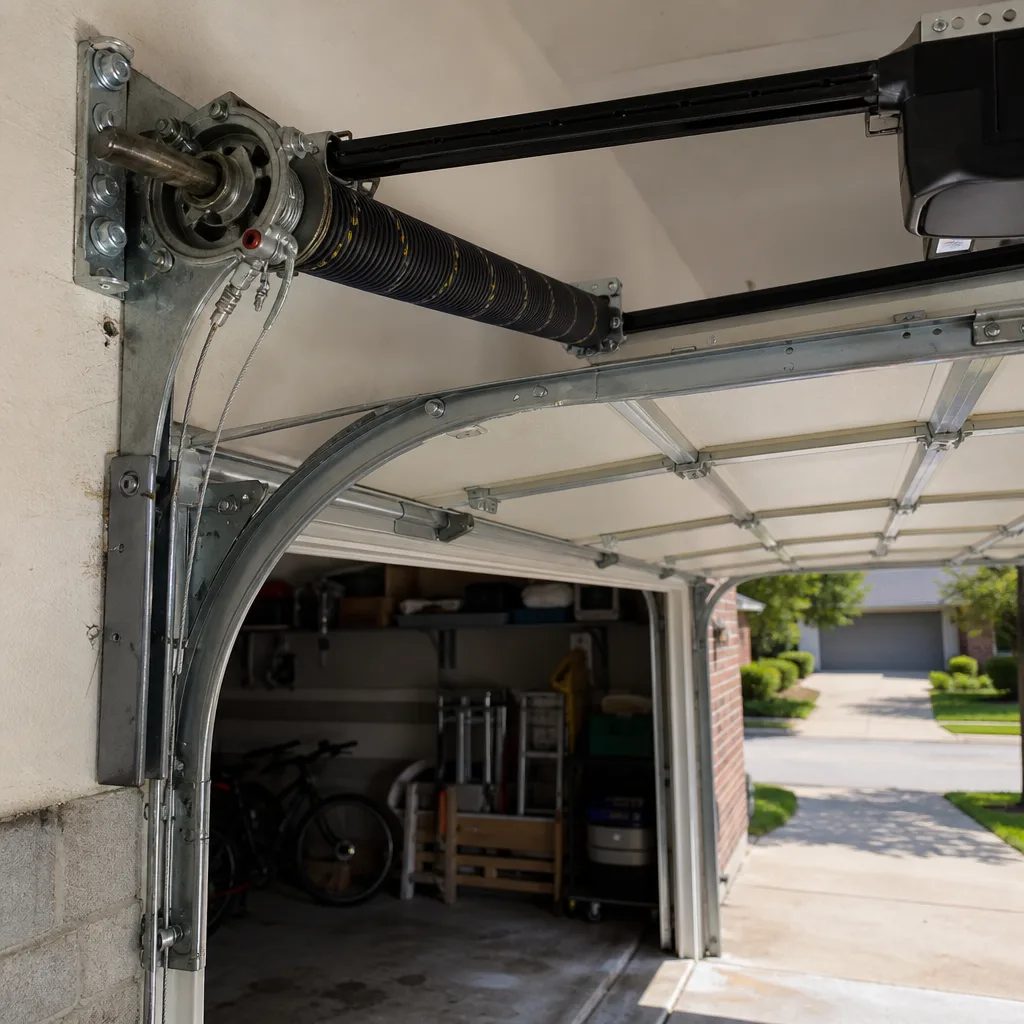
A garage door is a simple machine, and that’s the problem. The panel itself weighs between 130 and 400 pounds depending on size and material. The springs do the heavy lifting. A torsion spring mounted above the door opening is wound to counterbalance that weight, which means it’s under constant rotational force even when the door is closed and motionless. The spring doesn’t sleep. It’s loaded.
Extension springs on older doors work on the same principle, just stretched instead of wound. When one lets go, the released energy travels through the cable and whatever happens to be in the path. In our experience across Plano homes, the injuries we hear about from homeowners who attempted spring work fall into a consistent pattern: a winding bar slipped, or an improvised substitute bent, and the resulting release fractured something before the person fully understood what happened. It’s not a judgment on anyone’s competence. It’s the mechanical reality of a wound spring and an uncontrolled release.
The line between DIY and professional work is therefore not about skill, courage, or experience with other home repairs. It’s about whether the component you’re touching stores tension. A weatherstrip doesn’t. A roller doesn’t, if the door is fully open. A sensor doesn’t. But a torsion spring absolutely does, and so does the cable drum it attaches to, and so do the bottom brackets that anchor the cable assembly. If you disconnect a cable from a bracket without first releasing the spring tension, you’ve created a missile. That’s the entire decision framework in one paragraph.
What makes this especially relevant in Plano is the age of the housing stock. Homes built between the 1990s and 2010s across neighborhoods like Willow Bend, Russell Creek, and Deerfield were overwhelmingly fitted with torsion spring systems, and many of those springs are now reaching the end of a 10,000-cycle service life. A homeowner who moved into a 2008 build in west Plano in 2023 is statistically likely to face a spring failure within a few years of moving in. Knowing where the line sits before that moment arrives is the point of this guide.
Five Jobs That Should Never Be DIY
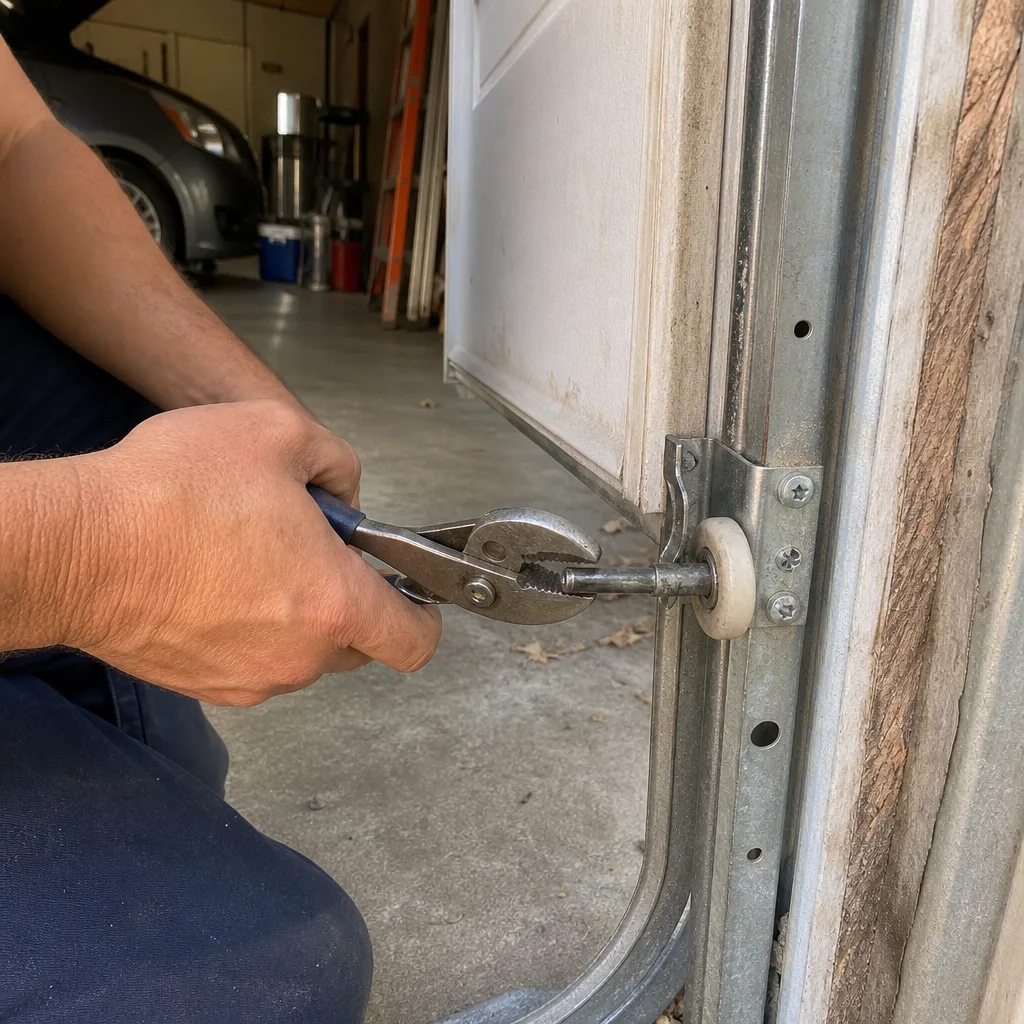
This list is not a suggestion. It’s the mechanical boundary. Every one of these tasks involves a component under stored tension, and every one has a documented injury pattern associated with amateur attempts.
1. Torsion Spring Adjustment or Replacement
The torsion spring is wound to counterbalance the exact weight of your door. When it breaks, the door becomes dead weight, and the repair requires unwinding the remaining tension, removing the spring, installing a new one matched to door weight and drum configuration, and winding it to the correct number of turns. The winding process requires two properly sized winding bars inserted into the winding cone. The force involved is sufficient that a bar slipping out will spin the cone backward with enough speed to break bone. This is the single most dangerous component on a garage door, and it fails without warning. If you hear a sound like a gunshot from the garage and the door won’t move, that’s likely a spring failure. Leave the door closed and call a professional.
2. Cable Drum Replacement
The cable drums sit at each end of the torsion shaft. They spool the lifting cables as the door moves. When a drum is worn, cracked, or misaligned, the cable can jump the drum and bind, often fraying as it goes. Replacing a drum means removing the cable from the drum while it’s under tension from the spring. The correct procedure is to unwind the spring fully before touching the drum. Skipping that step means the drum becomes a tension release point the moment the cable is detached. If the cable you’re looking at is frayed or the drum has visible grooves worn into the channel, stop. That’s a professional repair.
3. Bottom Bracket Removal
The bottom brackets anchor the lifting cables to the door itself. They’re bolted to the bottom panel corners. The cable running from each bracket to the drum is what transfers the spring’s counterbalancing force to the door. Removing a bottom bracket without first de-tensioning the springs is the most common serious-injury scenario in garage door DIY. The bracket is under hundreds of pounds of cable pull. When the last bolt comes out, the bracket becomes a projectile. We tell Plano homeowners the same thing every time: if a bottom bracket is bent, cracked, or pulling away from the panel, close the door and call. That bracket is load-bearing in a way that isn’t obvious from looking at it.
4. Horizontal Track Realignment Under Tension
Track alignment sounds like a simple adjustment, and sometimes it is, if the door is fully closed, the opener is disconnected, and the misalignment is in a section of track that isn’t bearing cable or spring load at that moment. But horizontal track work on a door whose springs are still wound means the track is holding the rollers that hold the door that the springs are trying to lift. Loosening a horizontal track bracket on a loaded door shifts the entire load path, and the door can drop or the track can bind in a way you can’t predict. If you’ve noticed the door hesitating or scraping on one side, the cause might be a worn roller or it might be a track under load. The safe way to find out is to disconnect the opener, run the door manually, and observe. If the track itself is visibly bent or the bolts are pulling out of the wall, that’s a call.
5. Opener Motor Unit Replacement on High-Lift Systems
Standard-lift doors on seven-foot ceilings are relatively forgiving when it comes to swapping an opener unit. But Plano has thousands of homes with high-lift setups, where the horizontal tracks ride up near the ceiling, or vertical-lift setups on doors that follow steeply pitched rooflines. On these systems, the opener’s travel distance, force settings, and rail angle are all calibrated to a door that moves along a different geometry. Replacing the motor unit on a high-lift door often requires reconfiguring the rail, resetting the travel limits, and dialing the force profile against a door that stores more energy in its springs. Get the force settings wrong and the opener will either stall mid-cycle or, worse, drive the door through an obstruction. This is not a plug-and-play swap on high-lift configurations.
Four Legitimate DIY Tasks
These four jobs are genuinely DIY for a careful homeowner with basic tools. None of them requires touching a component under stored tension, provided you follow the disconnect step where noted.
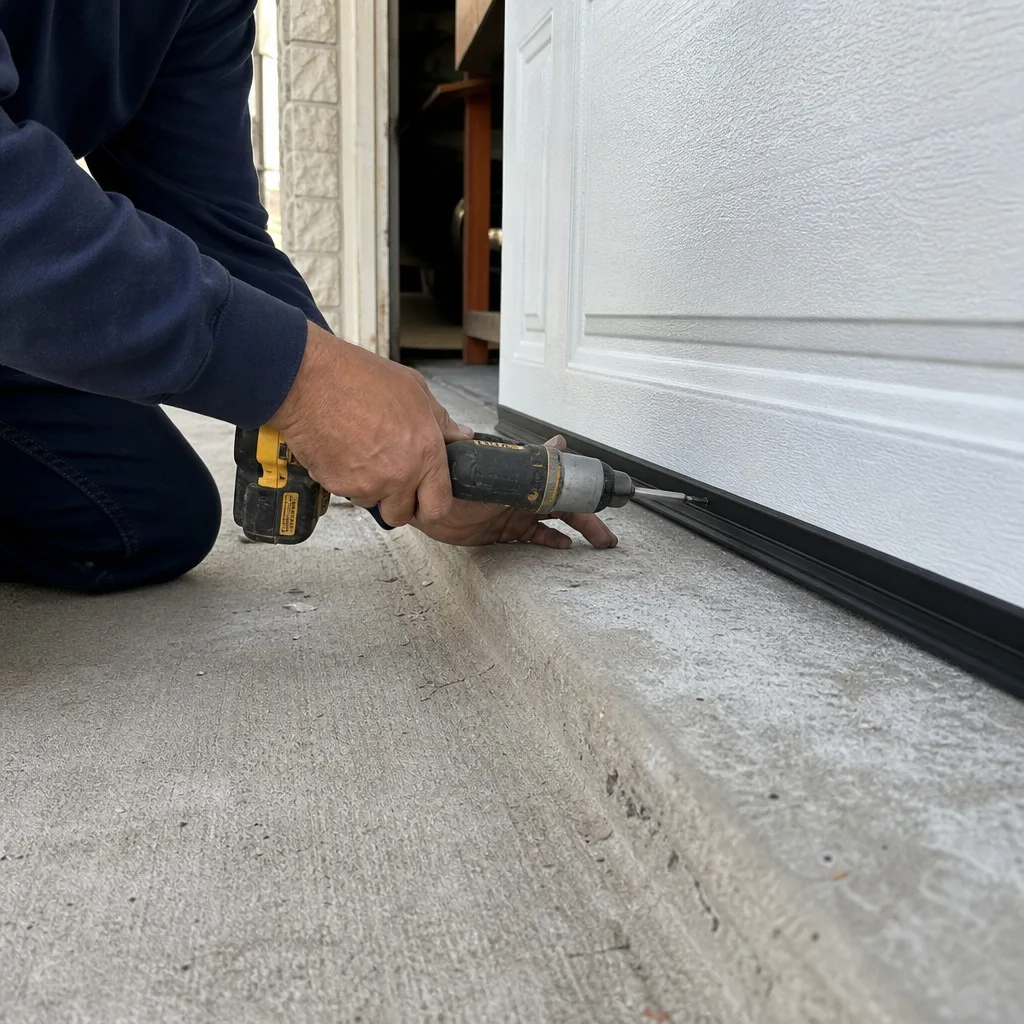
1. Weatherstripping Replacement
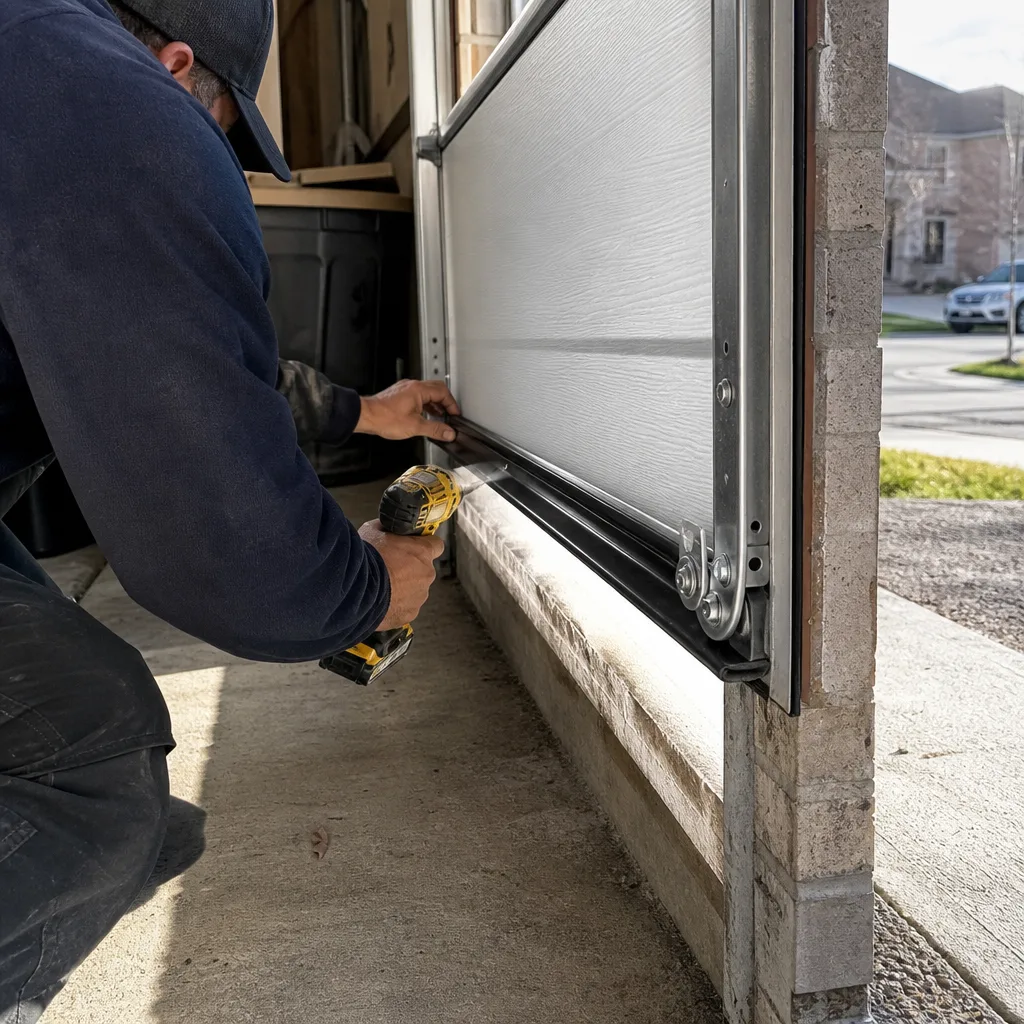
The rubber strip along the bottom of the door is called a bottom seal or astragal. It compresses against the floor to keep water, dust, and pests out. In Plano, where summer heat and dry air accelerate rubber degradation, a bottom seal typically lasts three to five years before it hardens, cracks, or tears. Replacing it is a legitimate DIY job.
- Close the door fully and disconnect the opener using the emergency release cord. Pull the release and confirm the door stays on the floor.
- Remove the old seal. On most doors it slides out of a T-channel retainer at the bottom of the panel. If it’s screwed or stapled on, remove the fasteners.
- Measure the width of the door and cut the new seal to length with a utility knife. Buy the right profile: T-channel seals for retainers, P-bulb for others. The photo of the old seal’s cross-section will tell you what you need.
- Slide the new seal into the channel or fasten it in place. Some homeowners lubricate the channel with dish soap to help the seal slide.
- Reconnect the opener and run a full cycle. Check that the seal compresses evenly along its length.
Total time: 45 minutes. Cost: $20 to $40 for the seal. Risk: minimal.
2. Roller Replacement on a Door with a Disconnected Opener
Rollers wear out. Nylon rollers last longer than steel but eventually develop flat spots, cracked bearings, or a gritty feel. Replacing them on a torsion spring door is safe if you understand one thing: the door must be fully open when you work on the rollers, because at full open position the springs are at their minimum tension and the horizontal track sections carry the door’s weight.
- Open the door fully and disconnect the opener with the emergency release cord.
- Clamp locking pliers onto the vertical track just below the bottom roller on each side. This prevents the door from drifting down.
- Remove the old roller from the bottom bracket. Most doors use a hinged or snap-in attachment. Stems may be held by a clip.
- Insert the new roller. Match the stem length and wheel diameter to the old one. Eleven-ball-bearing nylon rollers are a solid upgrade over the ten-ball versions on many stock doors.
- Remove the track clamps, reconnect the opener, and run two full cycles while watching the rollers.
Never remove a bottom bracket bolt to free a roller. The bottom bracket is under cable tension. If the roller doesn’t come out easily, reassemble and call a professional.
3. Photoelectric Sensor Cleaning and Realignment
The photoelectric eyes sit low on each side of the door opening, about six inches off the floor. They cast an invisible beam across the opening. If the beam is broken, the door refuses to close. In Plano, where dust, grass clippings, spider webs, and the occasional kid’s bicycle all interfere with that beam, sensor problems are the single most common reason a door won’t close.
- Check the indicator lights on both sensors. One should show a steady light, the other a steady or blinking light depending on make and model. A flickering or dark sensor is the smoking gun.
- Wipe both lenses with a dry microfiber cloth. Don’t use a wet wipe; moisture on the lens can refract the beam.
- Check that both sensors are pointing at each other. A bumped sensor can rotate a few degrees off axis. Loosen the mounting wing nut, square the sensor to the one across the opening, and retighten.
- Check the wiring. A loose wire at the back of the sensor or a staple that’s cut into the wire along the wall will produce intermittent failures.
- Test by pressing the wall button. The door should close fully without reversing.
Total time: 20 minutes. Cost: $0 unless the sensor itself has failed, in which case a replacement runs $30 to $60 and is a straightforward swap with the opener unplugged.
4. Lubrication
Lubrication is the highest-return DIY task on any garage door. It extends roller life, keeps hinges from binding, and quiets a noisy door. The key is using the right product. Do not use WD-40, which is a solvent and will strip the lubricant you’re trying to apply. Use a white lithium grease or a dedicated garage door spray lube.
- Disconnect the opener so you can move the door manually for the friction points.
- Spray a small amount of lithium grease into each roller bearing. The goal is the bearing, not the wheel face.
- Apply a drop to each hinge pivot pin, both sides of the door.
- Spray the torsion spring lightly along its length. This quiets the spring as it winds and unwinds.
- Apply silicone spray to the track only if the rollers are binding. Most tracks need no lubrication at all. Grease on tracks collects Plano dust and makes things worse.
Do this twice a year, once before summer and once before winter. Total time: 15 minutes. Cost: $8 to $15 for the right product.
The Tool Cost Reality Check
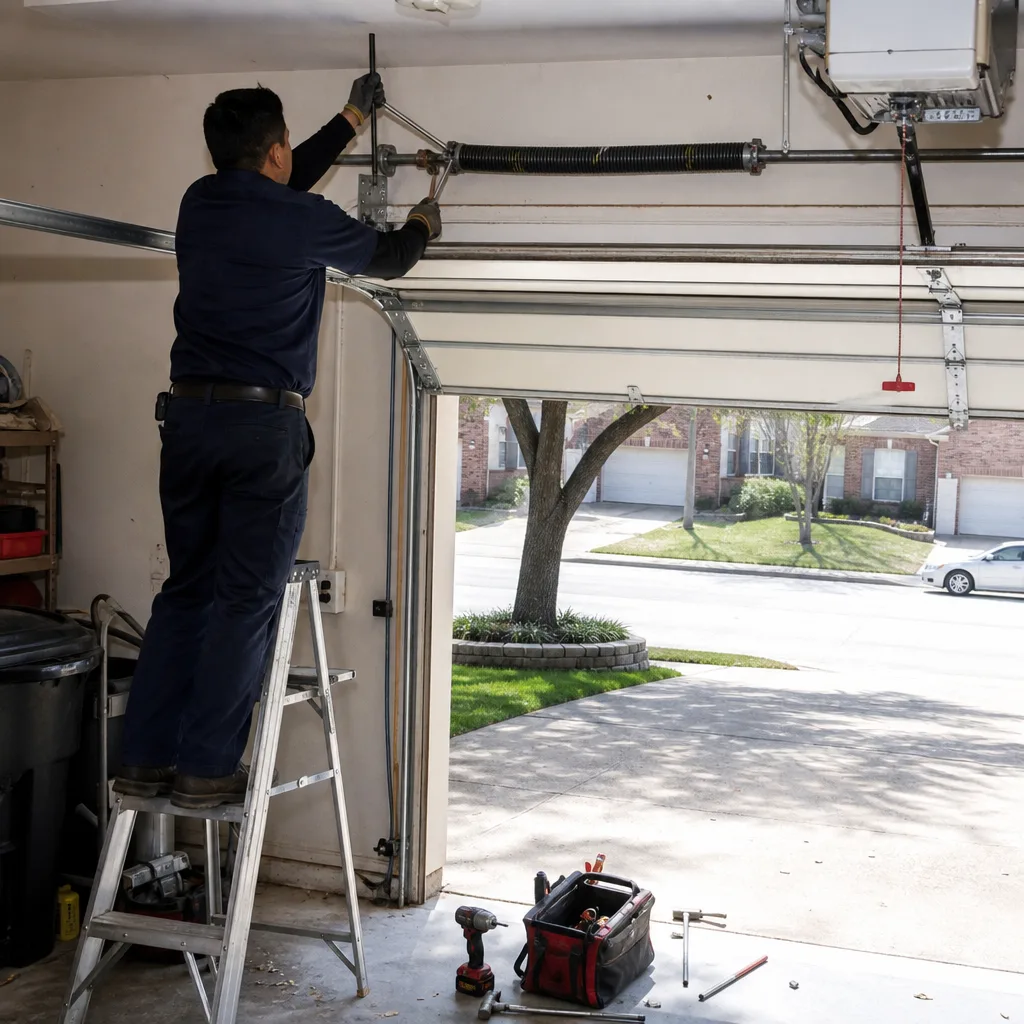
A common argument for DIY spring work goes like this: the parts are cheap, and the tools only cost forty bucks. Let’s examine that. A pair of proper winding bars, sized to fit the winding cone on your spring, costs between $30 and $50. The spring itself runs $60 to $120 for a typical Plano single-car door, double that for a heavy double door. So the material cost of DIY spring replacement is not dramatically less than a professional repair, but the conversation usually isn’t about money. It’s about the principle of doing it yourself.
Here’s what the $40 tool cost misses. A winding bar is a solid steel rod of a specific diameter. The winding cone sockets are drilled to accept that diameter. If you use a screwdriver, a socket extension, or a piece of rebar, the fit is wrong. The bar will slip. When a bar slips on a wound spring, the cone spins backward with the full stored torque of the spring behind it, the bar becomes a projectile, and your hand is usually right there. The consequence of an improvised substitute is not a stripped thread. It’s a transfer of 100 to 300 foot-pounds of energy into whatever is in the rotation path. That’s the entire reality check. The tool cost was never the barrier. The incentive to improvise under a half-open door is.
We’ve also seen homeowners attempt spring work with the wrong spring. Torsion springs are sized by wire diameter, inside diameter, length, and wind direction: left-hand wound or right-hand wound. Order the wrong wind and the spring won’t function with the drum you have. Order the wrong wire diameter and the door won’t balance, which means the opener will fight the door until something fails. Getting spring specs right requires measuring the old spring precisely and matching the specs to door weight. That’s specialist work, and it’s part of what you’re paying for when you hire a professional.
How to Evaluate a YouTube Tutorial
Some garage door tutorials are excellent. Some are instructionally dangerous. The difference is visible within the first few minutes if you know what to look for. A competent video will always show three things.
- The disconnect procedure. A responsible instructor begins by pulling the emergency release and confirming the door can move manually. If the video skips straight to tools on a loaded door, close it.
- Tension verification. Any video that touches springs, cables, drums, or brackets must demonstrate that the spring tension has been released or that the door is positioned to remove tension from the work area. If the instructor says “just be careful” instead of showing the release or the position, that’s a red flag.
- A test cycle. A competent tutorial ends by reconnecting the opener and running the door through a full cycle while the instructor checks balance and travel. If the video ends the moment the repair looks complete, you’re missing the verification step that catches installer error.
Dangerous videos skip two things with some consistency. First, they omit the failure mode: what happens when the tool slips, what the spring does when released, what the cable does when unhooked. Second, they omit the torquing sequence or winding count. A video that says “wind it until it feels right” without specifying the number of turns for a given door height is teaching by feel, and tension is not a feel thing. It’s a number.
If you’re evaluating a video for one of the four legitimate DIY tasks, these rules still apply. A good weatherstripping video shows the disconnect step. A good roller replacement video clamps the track. The pattern is the same: the responsible instructor treats the door as a loaded machine, not as a set of parts.
When a DIY Job Should Stop
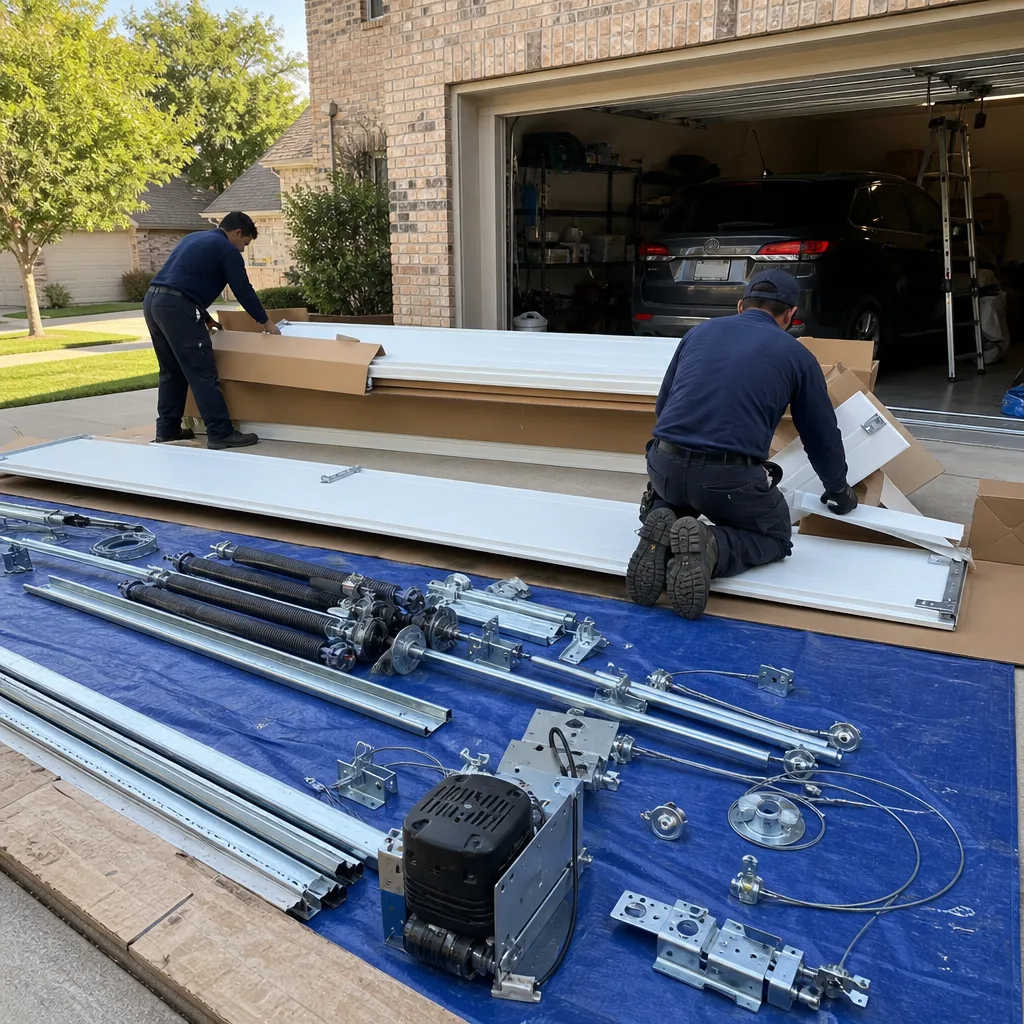
No DIY plan survives contact with the actual door. The job you started as a roller replacement might reveal a frayed cable, and that changes the risk profile immediately. Here are the specific moments when a DIY task should stop and a professional call should happen.
Frayed cable discovered during a roller swap. You’re replacing rollers and you notice the lifting cable has broken strands or rust at the drum. That cable is under load. The door is currently holding because the remaining strands haven’t parted yet, but disturbing the door during further work could finish the job. Stop and call. Cables on torsion systems are replaced in pairs, and the springs get unwound first. That’s not a DIY extension.
Misaligned drum discovered during weatherstripping. You’re on the floor working on a bottom seal and you look up to see that the cable isn’t seated in the drum’s groove, or the cable has jumped and wound over itself. The door may still operate, but uneven cable spooling means uneven load. Continuing to cycle the door risks snapping the cable. Stop.
A bent bottom bracket during roller replacement. You’re working on the bottom roller and you see the bottom bracket is bent, rusted through, or pulling away from the panel. The bracket is the cable anchor. If it fails, the cable releases and the door can drop hard, even with the springs intact. Replacing a bottom bracket means releasing spring tension. Stop and call.
Any resistance that doesn’t make sense. You’re removing a part and it won’t move the way it should. A bolt is stuck, a bracket won’t release, a roller won’t come free. Force is never the answer on a loaded door. If the part doesn’t come out with moderate effort, the door is telling you something about load distribution that you can’t see. Close it up and call.
The pattern across all four of these is the same: the DIY job revealed a tension-bearing component in worse condition than expected. That’s not a failure of planning. That’s the door communicating, and the right response is to listen.
What Plano Climate Does to Garage Doors
Plano’s climate has a specific and predictable effect on garage door components, and it’s worth understanding because it explains why some doors need more attention than others. Our technicians see the same patterns across every Plano neighborhood, from Timberbrook to Avignon Windhaven.
Summer heat, routinely in the high 90s and low 100s from June through September, attacks rubber and plastic first. Bottom seals harden and crack. Roller bearings lose their grease and start to grind. The plastic gears inside opener motor units, exposed to the heat of an uninsulated garage that can hit 110 degrees on an August afternoon, become brittle and shed teeth. This is why opener gear failures in Plano spike in late summer.
Winter, mild by national standards but with enough freezes to matter, brings expansion and contraction cycles that work screws loose over time. Hinge bolts back out. Track brackets shift. The thermal cycling from a 20-degree night to a 60-degree afternoon does more structural loosening than many homeowners realize.
Spring thunderstorms and the occasional severe weather event, including the straight-line winds Plano sees in spring, put sudden lateral loads on doors. A door that’s slightly out of balance is more vulnerable to panel damage when the wind pushes against 200 square feet of surface area. This is the argument for keeping a door balanced, lubricated, and adjusted. Small problems compound under Texas weather.
What this means for the DIY decision: the tasks on the legitimate DIY list are especially worth doing in Plano because the climate accelerates the wear they address. You’ll get measurable life extension from a bottom seal and twice-a-year lubrication. But the climate also stresses the tension-bearing components you shouldn’t touch, which means professional inspections have greater value here than in milder regions. A spring that’s been through ten Plano summers is a different animal than the same spring in Seattle.
Common Mistakes to Avoid
- Using WD-40 as a garage door lubricant. This is the single most common mistake we see. WD-40 is a water displacer and solvent, not a lubricant. It strips existing grease from roller bearings and hinge pins, and the door gets louder within days. Use white lithium grease or a garage door specific spray lube.
- Pulling the emergency release while the door is open. The red cord disconnects the opener from the door. If the door is fully open when you pull it, and the springs are weak or broken, the door will drop with full force. Always disconnect with the door closed or supported.
- Assuming a noisy door just needs oil. Noise can come from worn rollers, loose hinges, a failing spring, a bent track, or an opener on its way out. Oil is not a diagnostic tool. If lubrication doesn’t change the sound within one cycle, find the actual source.
- Replacing one spring on a two-spring door. Torsion systems on double doors use two springs. If one breaks, the other is at the same cycle count and will fail soon. Replacing only the broken one leaves you with an unbalanced door and a repeat job in your future. Professionals replace both.
- Adjusting opener force settings instead of fixing the underlying problem. If the door is binding, dragging, or out of balance, and the opener is reversing mid-cycle, the answer is not to crank up the force setting. That trains the opener to push through a problem. The answer is to fix the door so it moves freely. An opener that has to muscle a bad door will kill its own motor.
- Ignoring a frayed cable because “it still works.” A cable with broken strands is living on borrowed time. The remaining strands are carrying more load than they were designed for, and the failure mode when they part is sudden. Cables don’t wear out gracefully.
- Stacking boxes under a partially opened door. If you’re doing a task that requires the door at a certain height, support it with a proper door support or work with it fully open. A stack of boxes or a ladder under a door with questionable springs is not a support system. It’s a hazard that gives false confidence.
When to Call a Professional
Call a professional when the part you’re looking at stores tension: springs, cables, drums, bottom brackets, or when the door doesn’t behave the way it should in ways you can’t explain. Call when the door is off balance and drops or lifts unevenly. Call when you hear a snap and the door stops moving. Call when a DIY task reveals a component in worse shape than you expected. Servo Garage Doors Plano offers garage door repair in Plano with a written, flat price before any work starts, and every visit closes with a documented photo record of what was found and what was done. If you’re in Plano and you’re not sure whether the task you’re looking at is on the safe list, call (469) 455-3103. The call costs nothing, and you’ll get a straight answer.
Frequently Asked Questions
Garage door repair in Plano typically ranges from $125 for a basic service call with minor adjustment to $450 for a torsion spring replacement on a double door, depending on the exact component and door configuration. For a detailed breakdown, see our Garage Door Cost Breakdown: The Plano Homeowner’s Reference for 2026. Opener replacement runs $350 to $800 including parts and labor. At Servo Garage Doors Plano, every repair gets a flat written price and written scope before work starts, so the number you see on the page is the number you approve at the door. Call (469) 455-3103 for a free estimate with no obligation.
Yes. Spring replacements, cable repairs, roller swaps, and opener gear replacements are all stock repairs we carry parts for, and same-day service is available across Plano, including on emergency calls answered by a live person, not a recording. When you call (469) 455-3103, you’ll get a named technician and an on-the-way text, not a four-hour callback window.
Yes. On a door with two torsion springs, both were installed at the same time and both have cycled the same number of times. The surviving spring is at the end of its service life and running a new spring next to a tired one means the door won’t balance correctly, which shortens the life of both springs and the opener. Professional repair replaces the pair, and the price includes that.
The torsion spring assembly is the most dangerous part, because the spring stores enough wound energy to break bone if released uncontrolled. The bottom brackets and cable drums are dangerous for the same reason: they hold that tension in place. None of these components should be worked on by a homeowner, regardless of mechanical experience.
At Servo Garage Doors Plano, no. The price you’re quoted is the flat, written price, delivered before any work starts, per Clause 1 of The Haven Standard. If the technician finds an additional issue during the job, that gets a separate written price and your approval before anything else happens. The price is documented, not spoken, and it doesn’t move after the fact.
Yes. Our trucks carry torsion and extension springs across the common Plano door sizes, cables, cable drums, rollers, hinges, brackets, sensors, opener motor units, and gear kits for LiftMaster, Chamberlain, Genie, Clopay, Amarr, Wayne Dalton, Craftsman, and Raynor. Most repairs are completed in a single visit. For garage door opener repair and installation in Plano, we carry the common motor units and gear kits on the truck, so there’s no second trip for parts on most jobs.
The Bottom Line
The DIY versus professional question for garage doors has a clear answer based on tension, not talent. Weatherstripping, roller swaps on a properly supported door, sensor maintenance, and lubrication are safe, legitimate homeowner tasks that extend door life in Plano’s climate. Torsion springs, cable drums, bottom brackets, loaded track work, and opener replacement on high-lift systems are professional work, full stop. The line is written in physics, and it doesn’t bend for confidence or a YouTube tutorial. When the component stores energy, the job stores risk. When you’re in doubt, the answer is a phone call and a written price. For garage door installation in Plano or any repair question, reach Servo Garage Doors Plano at (469) 455-3103.
For more on who we are and how we work, visit the Servo Garage Doors Plano home page.
Written by Marcus Deller, Owner at Servo Garage Doors Plano, serving Plano since 2015.